Last Updated on October 20, 2026 by Umar Farooq
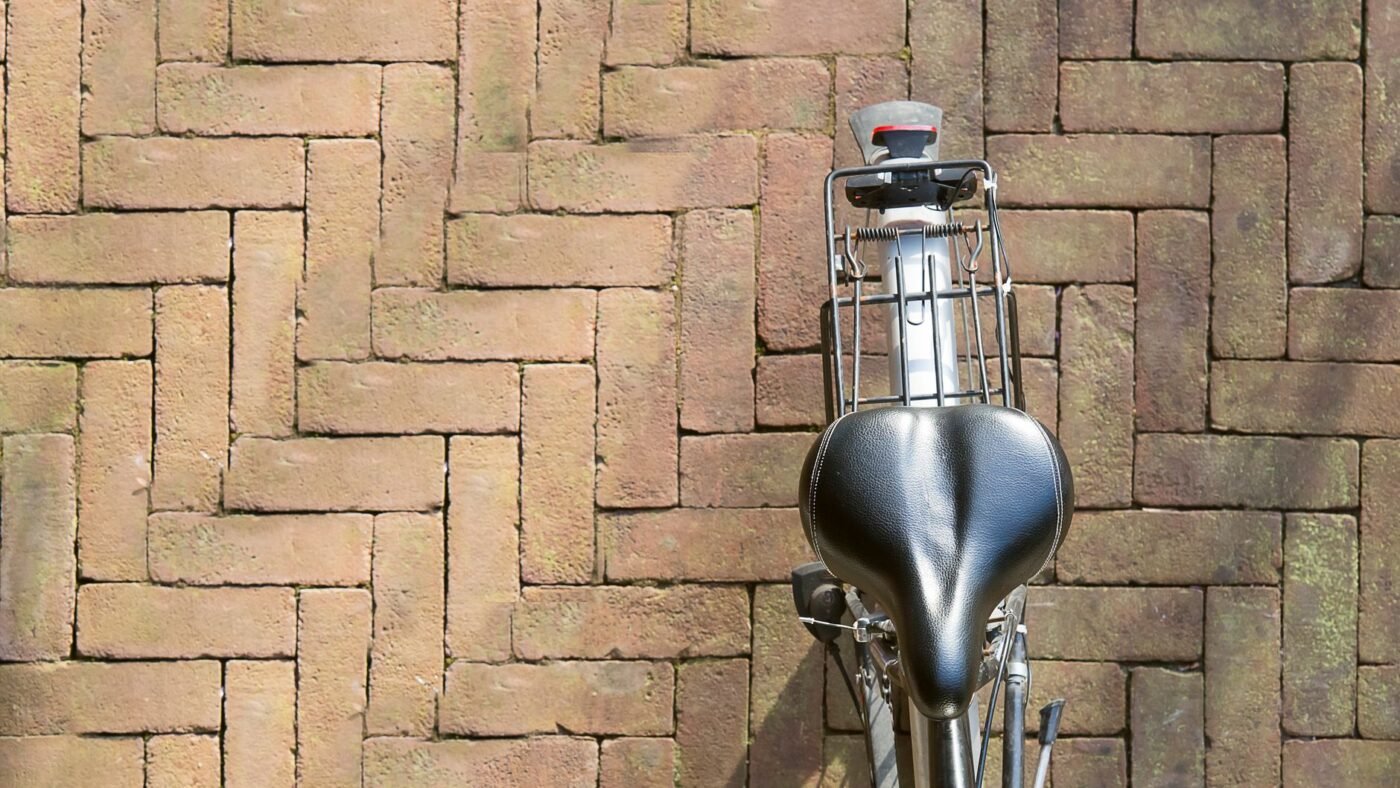
To lay a herringbone pattern paver patio, use rectangular pavers twice as long as they are wide (4 x 8 inch is the classic), choose 90° (pavers square to the edges, fewer cuts) or 45° (pavers diagonal, a cut at every edge), and start from a straight, square line with a soldier course of whole pavers along it. Lay whole pavers outward in zigzag rows, checking the lines with a string every few rows, and leave every cut until the field is down. Then cut the edges, install the restraint, and compact. If this applies to your yard, our guide to pinwheel paver pattern goes into more detail.
Herringbone is the strongest common pattern and the one with the most cuts. Both facts decide how you lay it.
Why a herringbone pattern paver patio holds together
The zigzag means no joint runs straight for more than one paver length, so there's no line for the field to slide along. ICPI's Tech Spec 4 says testing found herringbone patterns "offer greater structural capacity and resistance to lateral movement than other laying patterns," and recommends 45° or 90° herringbone wherever vehicles drive. On a patio that strength is a bonus. On a driveway it's the reason to choose it.
How herringbone compares with running bond, basketweave and the rest is covered in paver patterns. This page is about laying it.
45° or 90°: pick before you order

| 90° herringbone | 45° herringbone | |
|---|---|---|
| Pavers relative to the edges | Square (0° and 90°) | Diagonal |
| Edge cuts | Fewer; many edges take half pavers | Every border paver, on an angle |
| Look | Crisp, reads as a zigzag across the patio | Classic chevrons, busier |
| Setting out | Easier: start in a square corner | Harder: the first four pavers set the angle |
| Waste | Lower | Higher, from triangular offcuts |
Unilock's herringbone pattern guide usually lines the 90° version's baseline up with the direction of travel, which on a walkway means along the path. For a first herringbone, 90° is the forgiving choice. The 45° version looks better to many people, and it knows it.
What a herringbone patio needs before the first paver
The base and sand are the same as any sand-set patio: compacted crushed stone, 1 inch of loose screeded concrete sand, and a slope away from the house. What herringbone adds is geometry.
- 2:1 rectangular pavers. The pattern only closes up if the paver's length is exactly twice its width plus a joint. A 4 x 8 holland stone or a 6 x 12 works; a 6 x 9 doesn't.
- A soldier course. A border row of whole pavers laid end-on around the edge. ICPI's Tech Spec 4 recommends herringbone "with sailor courses at the perimeter," another name for the same border. It hides the cut edges of the herringbone behind a clean frame and gives the cut pieces something solid to lean on.
- A square starting corner. Check it with a 3-4-5 triangle: 3 feet along one line, 4 along the other, 5 on the diagonal.
- Extra pavers for cuts. See the arithmetic below.
How to lay a 90° herringbone patio
- Set the soldier course along two sides that meet at your square starting corner, usually the long straight edge and one end. Use string lines, not the house wall; house walls are rarely as straight as they look.
- Lay the first two pavers as an L in the corner: one along the soldier course, one butted against its end at 90°.
- Build the staircase. Each new paver steps out one paver-width from the last, alternating direction, so the pattern climbs diagonally away from the corner.
- Fill outward in rows, standing or kneeling on the laid pavers, never on the sand. Click each paver against its neighbour and drop it straight down.
- Check every few rows with a string. The stepped corners of the zigzag should fall on a straight line. If a row drifts, nudge it with a flat bar now; it can't be fixed after compaction.
How to set out a 45° herringbone
The 45° version depends on getting the first few pavers exactly right. Paving Expert's 45° set-out method is the cleverest way I found, and it needs no protractor:
- Lay the soldier course along a straight baseline.
- Against it, place a temporary row of pavers on their edges. These act as spacers and come out later.
- Set the first pair of pavers at roughly 45°, with the corner of the first paver touching the temporary row.
- Add the next pair to make the first chevron, and rotate the four pavers until their corners all touch the check lines. At that point the angle is right, because the geometry only closes at 45°.
- Extend the chevrons along the baseline and outward, checking with a string on the chevron points every few rows.
- When all whole pavers are down, lift the temporary on-edge row and cut in the triangles against the soldier course.
Paving Expert says the method leaves cut pieces with three moulded edges and keeps waste down. (I went in expecting trigonometry and came out with a trick involving pavers lying on their sides, which is better.)
Make every cut at the end
Lay the whole field first, then mark and cut all the edge pieces in one session. Mark each cut against a straightedge or string, not by eye, and cut with a wet saw or cut-off saw; technique and dust control are covered in how to cut pavers.
The rule for small pieces: don't leave slivers. ICPI's Tech Spec 4 says no less than one-third of a cut paver should be exposed to tire traffic on driveways, and Paving Expert cites a quarter-paver minimum under British standards. On a patio, if a cut piece comes out smaller than about a third of a paver, shift the soldier course or the layout slightly rather than forcing a sliver in. Slivers are the pieces that rock loose first.
How much extra to order for herringbone
Herringbone waste comes from the edges, so it depends on the perimeter, not the area. I did the arithmetic for a 12 x 16 ft patio with a soldier course, laid in 4 x 8 pavers at 45°:
- The herringbone field inside the soldier course is roughly 10 ft 8 in x 14 ft 8 in, about 157 sq ft, or around 700 pavers at 4.5 pavers per square foot.
- Its edge is about 51 feet. At 45°, a paver crosses the edge every 5.7 to 11.3 inches (the end or side of a 4 x 8 at 45°), so there are roughly 55 to 105 cuts.
- If each 45° cut wastes about half a paver, that's roughly 25 to 55 pavers, or about 4 to 8% of the field, before breakage and mistakes.
A 90° layout on the same patio wastes less, because square cuts often leave a usable half. Add a margin for broken pavers and a few spares for future repairs on top of the cut waste.
Edge, compact and fill the joints
Once the cuts are in:
- Install the edge restraint tight against the soldier course, spiked into the base, before any compaction.
- Sweep the surface and run a plate compactor with a protective pad over the whole field, making passes in two directions.
- Sweep joint sand in, compact again and repeat until the joints stay full.
Herringbone resists creep better than any other common pattern, but it still needs a solid edge. If the restraint fails, the soldier course rolls and the pattern opens from the outside in; how to keep pavers from moving covers the symptoms.
Herringbone driveways and walkways
- Driveway: herringbone is the recommended pattern for vehicles under ICPI's Tech Spec 4, which also calls for vehicular pavers at least 3 1/8 inches (80 mm) thick with an aspect ratio of 3:1 or less, a soldier course at the edges, and no cut piece under a third of a paver where tires run. A 4 x 8 paver at 3 1/8 inches thick has an aspect ratio of about 2.6:1, which passes.
- Walkway: a narrow path has a lot of edge for its area, so a 45° herringbone walkway is mostly cuts. A 90° pattern with its baseline along the walk wastes far less.
Square corner, whole pavers, cuts last
A herringbone pattern paver patio comes down to three habits: start from a truly straight, square line with a soldier course, lay every whole paver before cutting anything, and check the zigzag with a string as you go. Choose 90° if you want fewer cuts and an easier start, 45° if you want the classic chevron and don't mind the saw. Either way, the pattern that looks complicated is mostly repetition. It's the edges that keep you honest.
FAQ
Is herringbone good for a patio?
Yes. It's the strongest common pattern because its joints never line up for more than one paver, so it resists shifting. The trade-off is more cutting at the edges, especially at 45°.
What is the difference between 45 and 90 degree herringbone?
At 90°, the pavers run square to the patio edges and many border pieces are simple half pavers. At 45°, the whole pattern is rotated so the zigzag runs square to the edges and every border paver needs an angled cut.
Where do you start a herringbone paver pattern?
At a straight, square corner or baseline, with a soldier course of whole pavers along it. For 45°, set temporary pavers on edge against the soldier course to fix the angle of the first chevron.
Do you need a border for herringbone pavers?
It's strongly recommended. A soldier course frames the cut edges, gives small cut pieces support, and is what ICPI's Tech Spec 4 recommends at the perimeter of herringbone pavements.
How much waste is there with herringbone pavers?
It depends on the perimeter. On a 12 x 16 ft patio in 4 x 8 pavers at 45°, the edge cuts alone come to roughly 4 to 8% of the field by my arithmetic, before breakage. 90° herringbone wastes less.