Last Updated on September 23, 2026 by Umar Farooq
Gravel has one goal in life, which is to be somewhere slightly lower next year. Here is how to compact gravel so it stays put: use crushed stone with fines, spread it in lifts no thicker than 2 to 4 inches, dampen each lift until it darkens but never puddles, and run a plate compactor over it in overlapping passes, at least twice, the second pass at 90 degrees to the first. Repeat lift by lift until you reach full depth. It's done when your boot leaves no print and the compactor rides smoothly instead of bouncing.
That's the short version. The rest covers the details that decide whether compacted gravel stays flat or sinks after the first wet winter: which stone compacts at all, how much water to add, how thick a lift your machine can handle, what pass pattern to use, and how to check your work without a lab.
For how deep the finished base should be, see our guide to paver base. This article picks up once you know the depth and have the stone on site.
Only gravel with fines will lock together
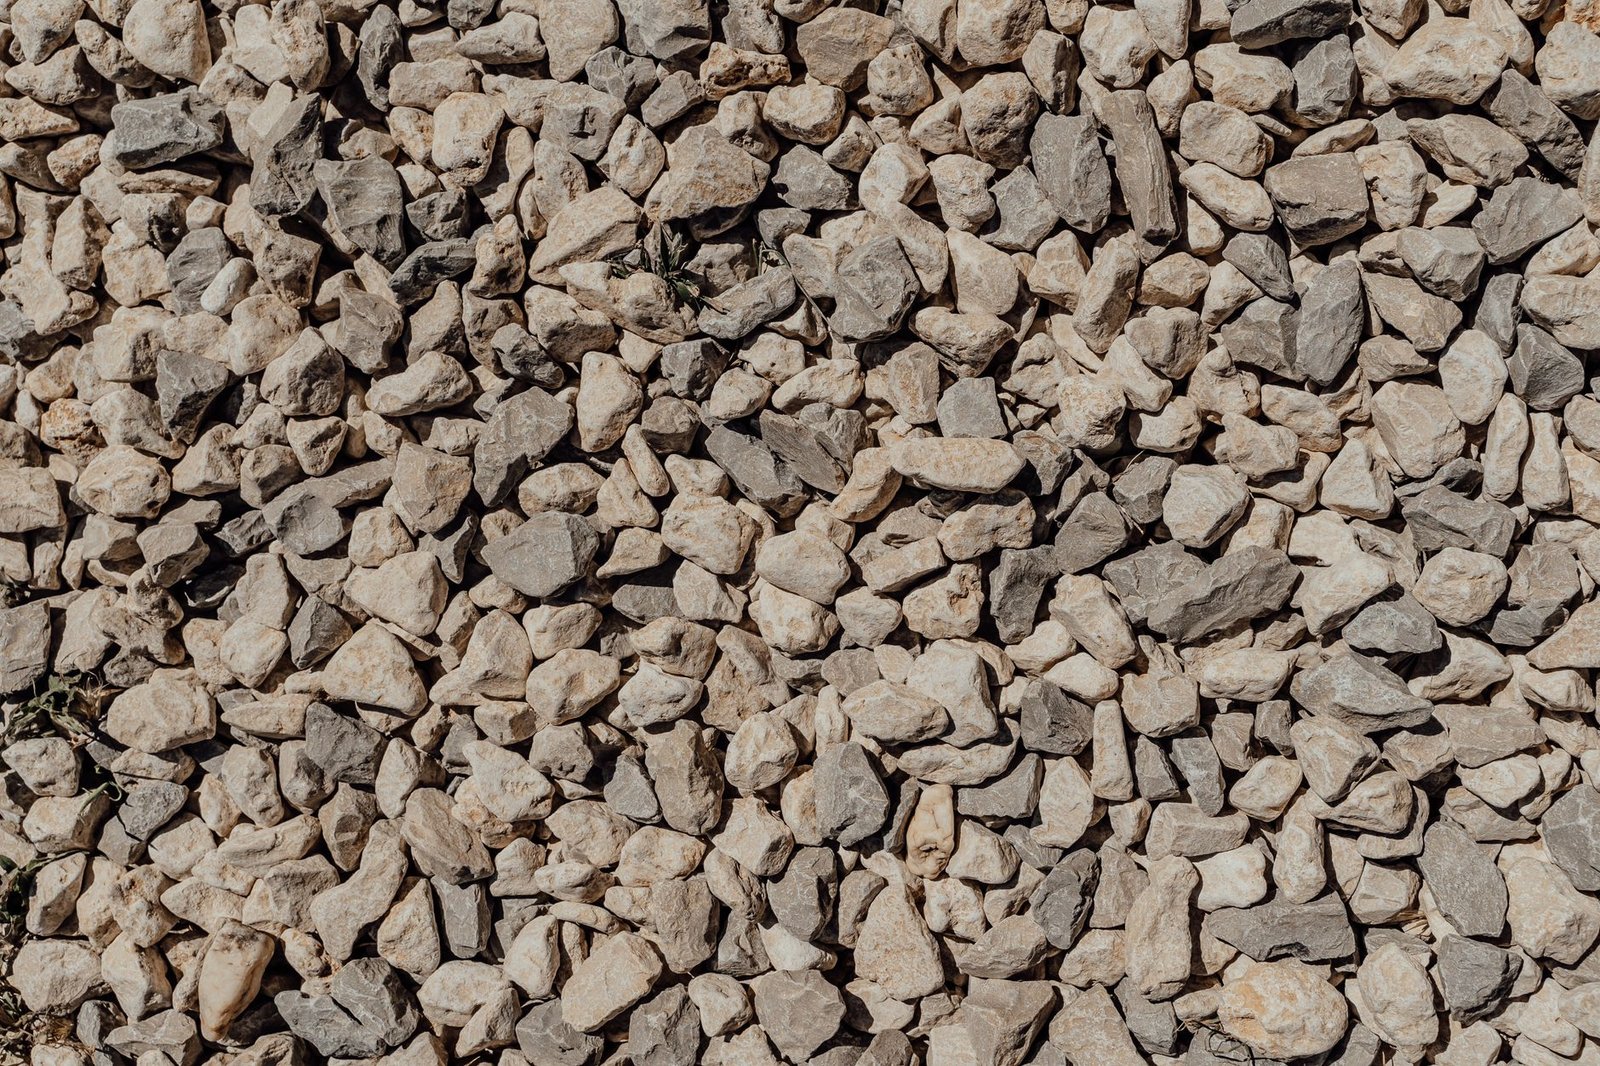
Compaction works by vibrating stones into the gaps between other stones. That only produces a solid mass if there are gaps of every size and pieces of every size to fill them. So the first rule of compacting gravel is to start with the right gravel, which sounds obvious until you notice how many bags at the garden center just say "gravel."
| Stone | Compacts to a solid base? | Why |
|---|---|---|
| Crusher run, road base, dense-graded aggregate (3/4 in. down to dust) | Yes | Angular faces interlock and the fines fill the voids |
| Quarry process (QP), Class 5, "paver base" in bags | Yes | Same idea, sold under regional names |
| Clean crushed #57 stone (no fines) | Only partly | Angular stones lock, but the voids stay open. It is used on purpose under permeable pavers |
| Pea gravel, river rock | No | Round stones roll past each other no matter how long you vibrate them |
| Stone dust on its own | Poorly | Too fine to carry load and holds water |
If you haven't bought the stone yet, our comparison of paver base material goes through each option.
The exception is #57 stone. It gets "seated" rather than densified: a couple of passes settle it into a stable layer, but water still runs straight through. That's what a permeable paver system wants and what a normal patio base doesn't.
Getting the moisture right before the first pass
Water lets small particles slide into the gaps between big ones. Too little and the fines bounce around. Too much and water fills the voids the fines were meant to fill, so the stone pumps instead of packing.
The squeeze test. Grab a handful of the base stone from the middle of the pile and squeeze it hard:
- Falls apart and runs out of your hand: too dry. Add water.
- Holds together, then breaks into a few chunks when you drop it: right where you want it.
- Holds together and leaves your palm wet, or water drips: too wet. Spread it out and let it drain. (Then wipe your hand before you pick up the rake handle.)
How to add water. Mist the raked lift evenly with a shower or fan nozzle until the surface darkens all over, with no shiny patches or pooling. On a hot, windy day, wet one section at a time, just ahead of the compactor.
Stone straight from the quarry is often close to right already. Stone that has sat uncovered in a hot driveway for a week usually isn't. And if it has rained for two days, wait. Compacting saturated stone is wasted effort, and you'll be doing it again.
Lift thickness depends on your compactor's force
This is the one I'll plant a flag on: compact in lifts, and size the lift to the machine. A plate compactor only reaches so deep. Dump 6 inches of stone and compact the top, and you get a hard crust over loose stone that settles later under the pavers. That's a classic reason a patio sinks in the middle. (I looked for data on how often it happens and found only contractor pages quoting each other, so no number from me.)
The rule of thumb used across the hardscape trade is about 1,000 pounds of centrifugal force for every inch of lift. How to Hardscape's guide to compaction equipment uses exactly that ratio, so a machine rated at 3,000 lbf handles about a 3-inch lift. The force rating is printed on the machine's spec plate or rental sheet.
| Rated centrifugal force | Maximum loose lift |
|---|---|
| 2,000 lbf | about 2 in. |
| 3,000 lbf | about 3 in. |
| 4,000 lbf | about 4 in. |
| Hand tamper | 1 to 2 in., small areas only |
Small forward plates from the rental counter sit at the low end of that range and big reversible plates at the top. Read the number on the machine rather than guessing from its size.
The spec agrees. The 4 to 6 inch lift that gets quoted everywhere comes with a condition: ICPI ties it to a 7,000 lbf reversible plate, and the same sentence adds: "Thinner lifts will be required for compactors in the 5,000 lbf (22 kN) range" (ICPI Tech Spec 2). I read it three times, because almost everyone quoting the 4 to 6 inches leaves off the plate.
Unilock's base preparation advice puts it more simply: most traditional plate compactors won't compact more than 4 inches of base, so build it in 3- to 4-inch increments. When in doubt, go thinner. An extra lift costs you an hour; a base that settles costs you the patio.
Loose stone shrinks as it compacts, so measure finished depth from compacted stone, not from what you raked out.
Not sure what the rental yard will hand you? Our explainer on what a plate compactor is covers forward vs reversible machines and weight classes.
How to compact gravel, one lift at a time
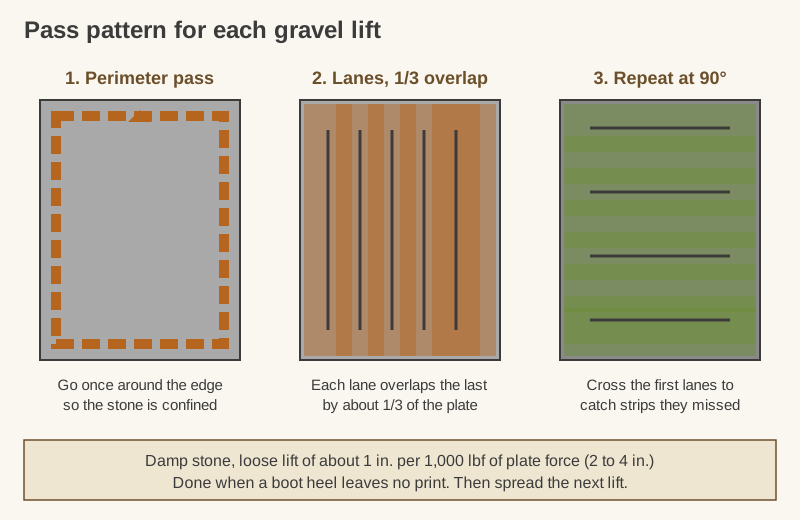
This is the sequence for a single lift. Repeat it until you reach the full base depth.
- Spread the lift. Dump stone in small piles and rake it out to an even loose thickness. Use stakes or a marked rake handle as a depth gauge. Don't drag stone long distances with the rake, because the big pieces roll to the front and you get pockets of coarse stone with no fines.
- Rake in the slope. Shape the lift to follow the finished grade: at least 1.5% overall (ICPI Tech Spec 2), and at least 2% away from the house, a quarter inch in every foot (IRC R401.3). Every lift carries the slope; don't plan to fix it at the top.
- Dampen it. Mist until the surface darkens evenly.
- Run a perimeter pass. Go once around the outside edge first. This confines the stone, so the interior passes push it down instead of out.
- Make the first set of lanes. Walk the compactor in straight lanes along the long side of the area. Overlap each lane by about a third of the plate width. Don't stop in one place with the engine at full throttle; the plate will dig a hole.
- Make the second set at 90 degrees. Run the same pattern crosswise. Two directions catch the strips the first set missed.
- Check and repeat. Walk the lift, look for soft or dark wet spots, and make a third pass (diagonal works well) anywhere that still gives underfoot.
Most crews end up with three or four passes per lift. More isn't always better: once the stone stops getting harder, extra passes crush the top stones into dust and loosen the surface. The compactor does not know when to stop. You have to.
Corners and walls. The plate can't reach tight against a foundation, a step or inside a corner. Finish those spots with a hand tamper or a jumping-jack rammer, and spread those lifts even thinner.
Checking that the base is actually compacted
You don't need a nuclear density gauge for a backyard patio (a sentence I never expected to type), but you need proof beyond "I ran the machine over it." These checks are free:
- The boot test. Walk across it with your weight on your heel. Properly compacted gravel shows no heel mark at all. A visible print means the lift needs more work.
- Listen and feel. On loose stone the compactor sounds dull and wallows forward. On dense stone it gets louder, bounces lightly and travels faster. That change is the machine telling you it's done.
- The screwdriver or rod test. Push a long screwdriver or a length of rebar into the surface by hand. On a well-compacted lift it barely goes in. If it slides in easily, the lift is still loose.
- The straightedge. Lay a straight 8- or 10-foot board across the finished base in several directions. The Concrete Masonry & Hardscapes Association's guide specification asks for a base surface within ±3/8 inch over 10 feet before any bedding sand goes down.
On engineered jobs, that same specification calls for at least 98% of standard Proctor density for patios, walkways and residential driveways. That is a lab number, but the boot, the machine's sound and the straightedge tell a homeowner most of what they need to know.
Fixing a soft spot. Dig it out, find out why (wet clay, a pocket of topsoil, a buried root), fix the cause, then refill and compact in thin lifts. Topping it up with extra stone rarely works.
Compacting a gravel driveway
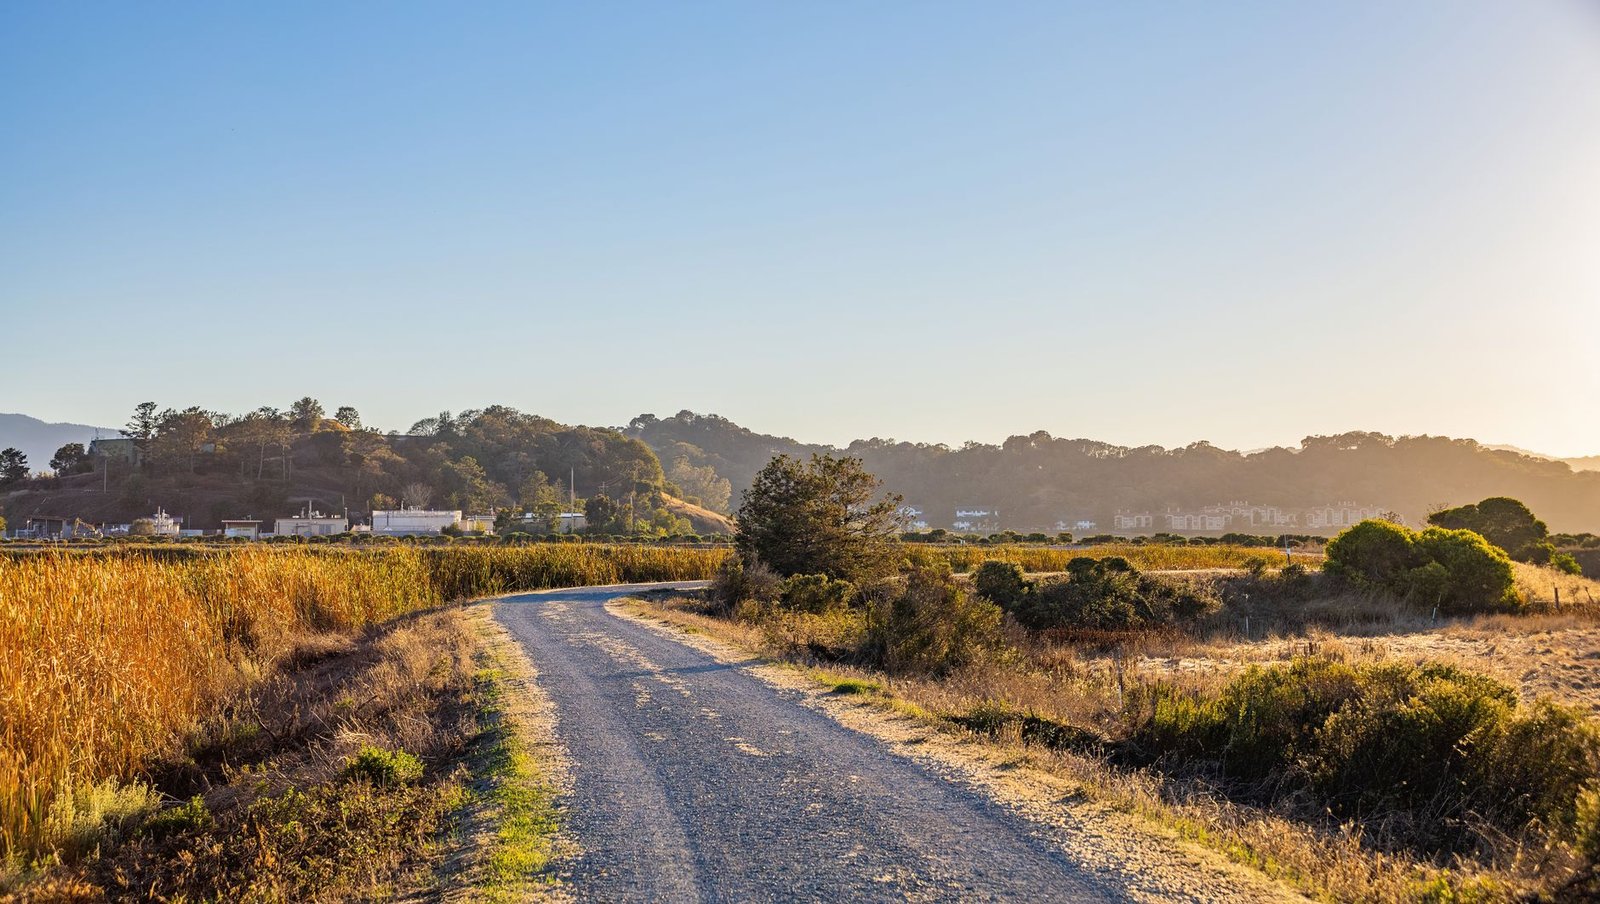
A driveway uses the same method with higher stakes, because a car loads a small patch far harder than feet do.
- Build it thicker. A residential driveway on well-drained soil gets a 6-inch compacted base minimum from ICPI, and 2 to 4 inches more on wet or weak soil or where it freezes (ICPI Tech Spec 2). The paver base guide linked at the top has the depth table by soil type.
- Compact the subgrade first. A rock-hard top layer can't make up for mud underneath.
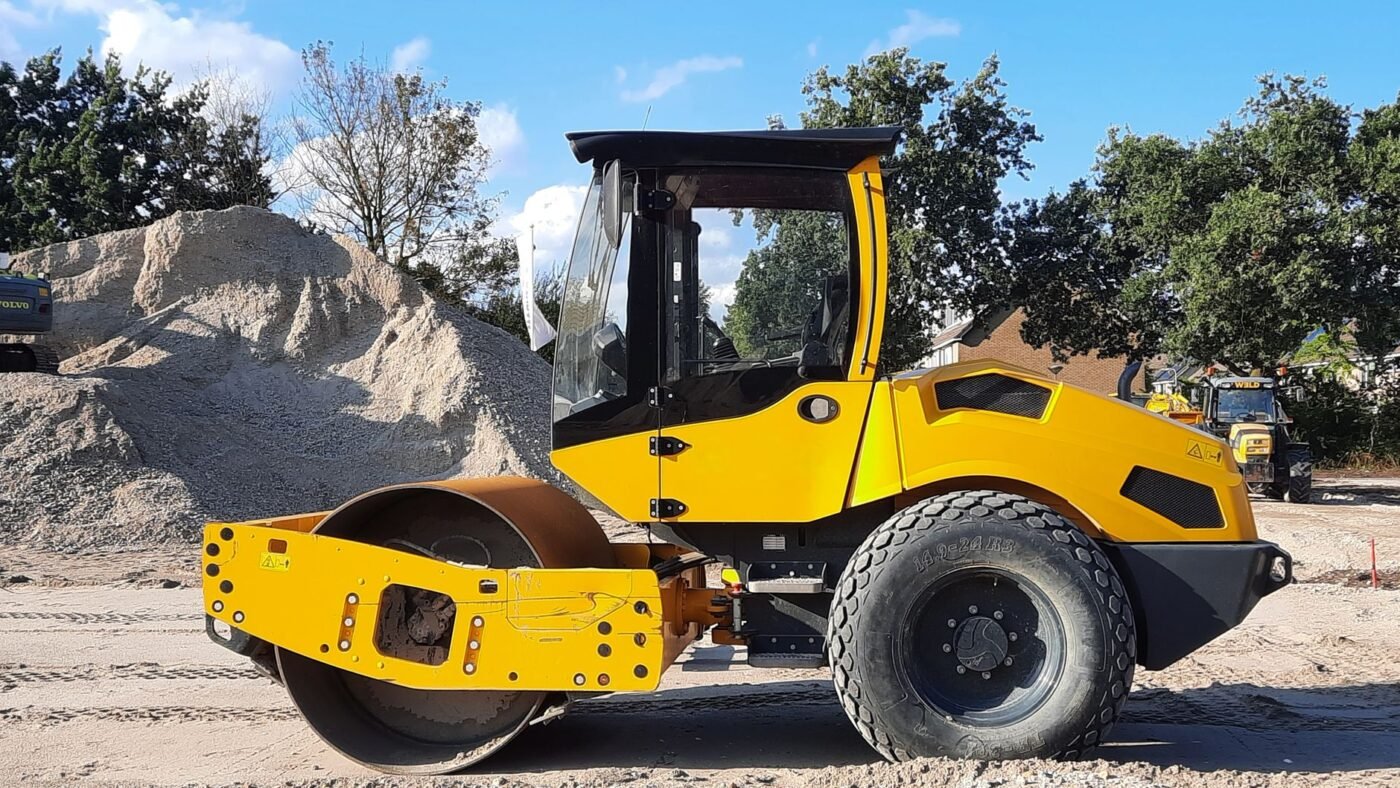
- Use the heaviest machine you can get. A reversible plate or a small ride-on roller lets you work in thicker lifts and saves hours on a long drive. On a 100-foot drive, a light plate and 2-inch lifts means enough walking to count as a hobby.
- Crown it or cross-slope it. A gravel driveway with no paving on top needs to shed water off its surface, so build in a crown or a slight side slope. Standing water softens the stone and starts potholes.
- Top-dress a surface driveway. If gravel is the finished surface, finish with a thin layer of smaller crushed stone with fines and compact it. That gives a tight, drivable top. Loose decorative gravel on a compacted base will always move under tires; that's normal.
For a gravel path or small gravel patio, the method is the same, in thinner lifts with a smaller machine, or a hand tamper if the area is only a few dozen square feet.
Four ways compacting gravel goes wrong
These are the patterns behind most sunken bases, and each is easy to avoid:
- One thick dump. Six or eight inches spread in one go and compacted from the top. The crust feels solid for a week, which is exactly long enough to lay the pavers on it.
- Stone that was too dry or soaking wet. Dry stone won't densify; saturated stone pumps. The squeeze test takes ten seconds.
- Skipping the edges. The outer foot of the base carries the edge restraint. If it's loose, the pavers creep outward over time. That's why the perimeter pass comes first.
- Using the wrong stone. No amount of passes will lock pea gravel together. It is ball bearings with a landscaping budget.
Thin, damp lifts compacted twice are the whole secret
Compacting gravel isn't complicated, but it doesn't forgive shortcuts. Use crushed stone with fines. Get it damp, not wet. Spread lifts no thicker than your compactor can reach, which for most rental plates means 2 to 4 inches. Run a perimeter pass, then overlapping lanes in two directions, and check every lift with your boot and a straightedge before adding the next. Nobody will ever see this layer, and that's the point. If the compactor is already running while you read this, you're fine: thin lifts, damp stone, overlapping passes. See you at the bottom of the pile.
FAQ
Can you compact gravel without a plate compactor?
Yes, for small areas. A steel hand tamper works on a walkway, a landing or a shed pad of a few dozen square feet, as long as you work in 1- to 2-inch lifts and tamp each one thoroughly. For a full patio or a driveway, rent a plate compactor. Hand tamping a large area to the same density is slow, hard work and rarely as consistent.
Should gravel be wet or dry when you compact it?
Damp. Mist it until it darkens evenly with no standing water. Dry gravel doesn't pack because the fines can't slide into the voids, and soaking-wet gravel pumps under the compactor instead of densifying.
How many passes does it take to compact gravel?
Plan on three or four passes per lift: a perimeter pass, a full set of overlapping lanes in one direction and a second set at 90 degrees, plus extra passes on any soft spots. Stop when your boot leaves no mark and the compactor rides smoothly.
How thick should each layer of gravel be when compacting?
It depends on the compactor. Allow about 1 inch of loose lift per 1,000 pounds of rated force. For most homeowner rental plates that means 2 to 3 inches, and never more than about 4 inches with a standard forward plate.
How soon can you drive on compacted gravel?
Right away, if it was compacted properly at the right moisture. A well-compacted gravel driveway doesn't need to cure. If it was compacted while very wet, give it a few dry days and re-compact any spots that rut.
Does compacted gravel drain?
Dense-graded stone with fines drains more slowly than clean stone once it's compacted, but it still drains far better than clay soil, especially when the base is sloped. If you need water to pass straight through, as with permeable pavers, use clean open-graded stone such as #57 instead.