Last Updated on September 23, 2026 by Umar Farooq
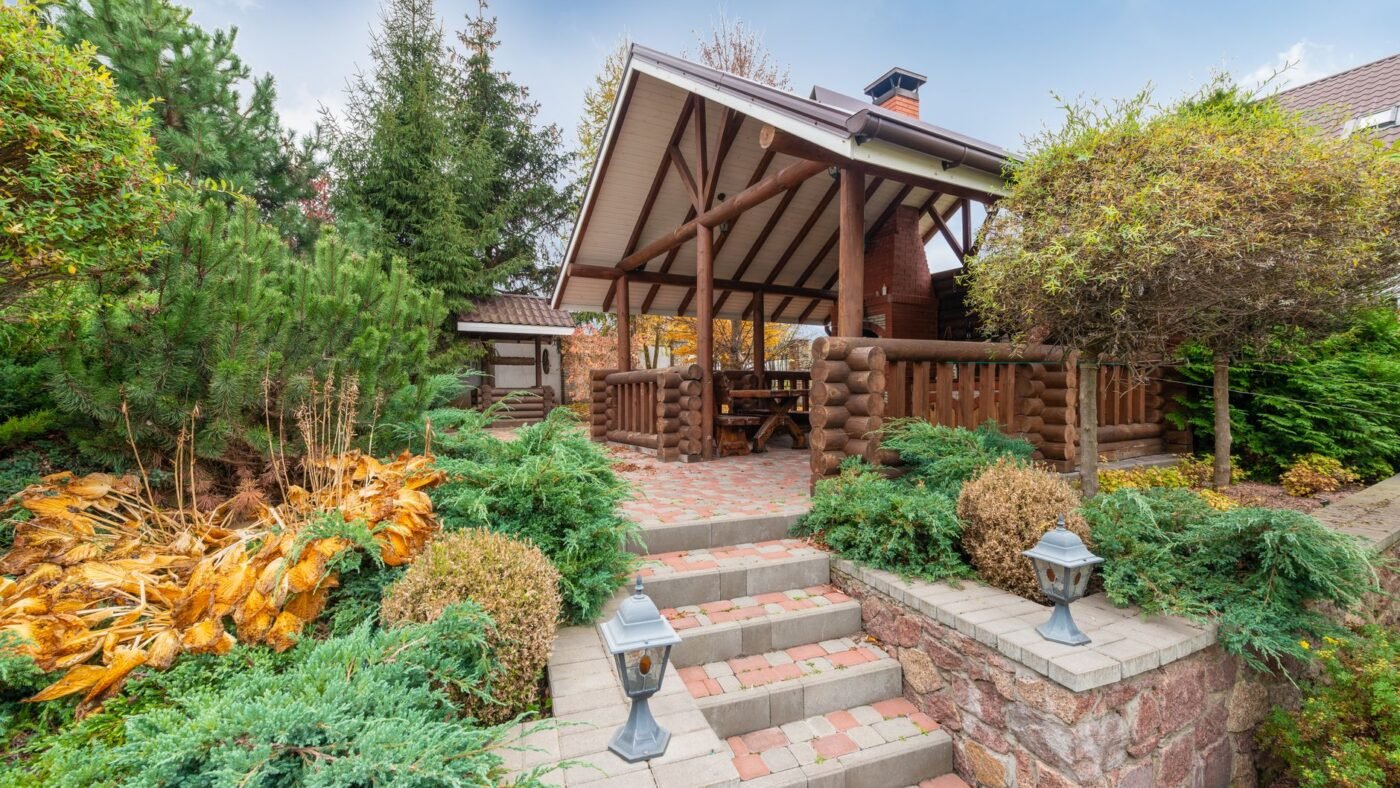
Here is how to build steps with pavers: measure the total rise, divide it into equal risers of about 6 to 7 inches (never more than 7 3/4 inches), and give each step a tread 12 to 16 inches deep. Build each riser from concrete wall blocks on compacted gravel, starting at the bottom. Backfill and compact behind each riser, glue the cap or set the paver tread on top, and repeat until you reach the upper level. I have now read more stair code than anyone planning a three-step garden flight should, and it all comes down to one thing: nobody trips over a paver color, but everyone trips over an uneven riser, so riser math and the compacted base are what make the steps safe.
Riser and tread math for outdoor steps
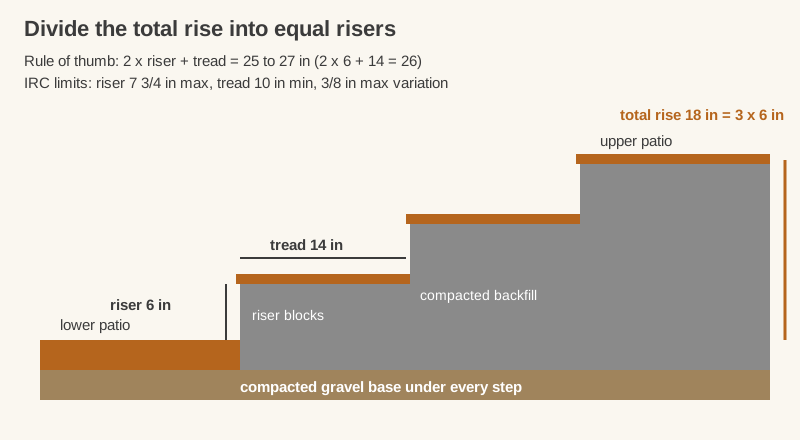
Here is my one strong opinion on steps: the riser math matters more than any paver you will pick. Your foot learns the first riser and assumes the rest match; the IRC allows only 3/8 inch of variation in a flight for exactly that reason. A plain block with even risers beats a gorgeous one that's 1/2 inch off.
Start with the total rise. Run a level string (or a straight board and a level) from the top landing out over the bottom landing, and measure straight down. That is the total rise. The horizontal distance available is the total run.
Divide the rise into equal risers. Outdoor steps are most comfortable at 5 1/2 to 7 inches per riser. Divide the total rise by 6 or 7, round to a whole number of steps, then divide again to get the exact riser height:
| Total rise | Number of risers | Riser height |
|---|---|---|
| 12 in | 2 | 6 in |
| 18 in | 3 | 6 in |
| 20 in | 3 | about 6 5/8 in |
| 24 in | 4 | 6 in |
| 30 in | 5 | 6 in |
Size the tread to match. A common rule of thumb outdoors is that two risers plus one tread add up to 25 to 27 inches. A 6-inch riser pairs with a 13- to 15-inch tread; a 7-inch riser with an 11- to 13-inch tread. Deeper treads and lower risers feel more relaxed, which is the mood you want on a patio.
Know the code limits. For stairs that are part of a house, the International Residential Code (IRC R311.7.5) sets a maximum riser of 7 3/4 inches, a minimum tread of 10 inches, and no more than 3/8 inch difference between the largest and smallest riser or tread in a flight. Building Code Trainer's summary of residential stair code explains each rule. Freestanding garden steps are not always covered, but an entry stoop usually is, so ask your local building department first.
Match the steps to the blocks. Wall blocks come in fixed heights, and a paver or cap adds its thickness on top. Choose the riser height from block plus cap, then adjust the number of steps so the total works out. About 6 to 7 inches is ideal.
Pitch the treads. Give each tread a slight forward fall, about 1.5 to 2% (3/16 to 1/4 inch per foot), so water runs off the front instead of pooling against the next riser. (Puddles on a tread are just ice with a start date.)
Block risers or paver-capped steps?
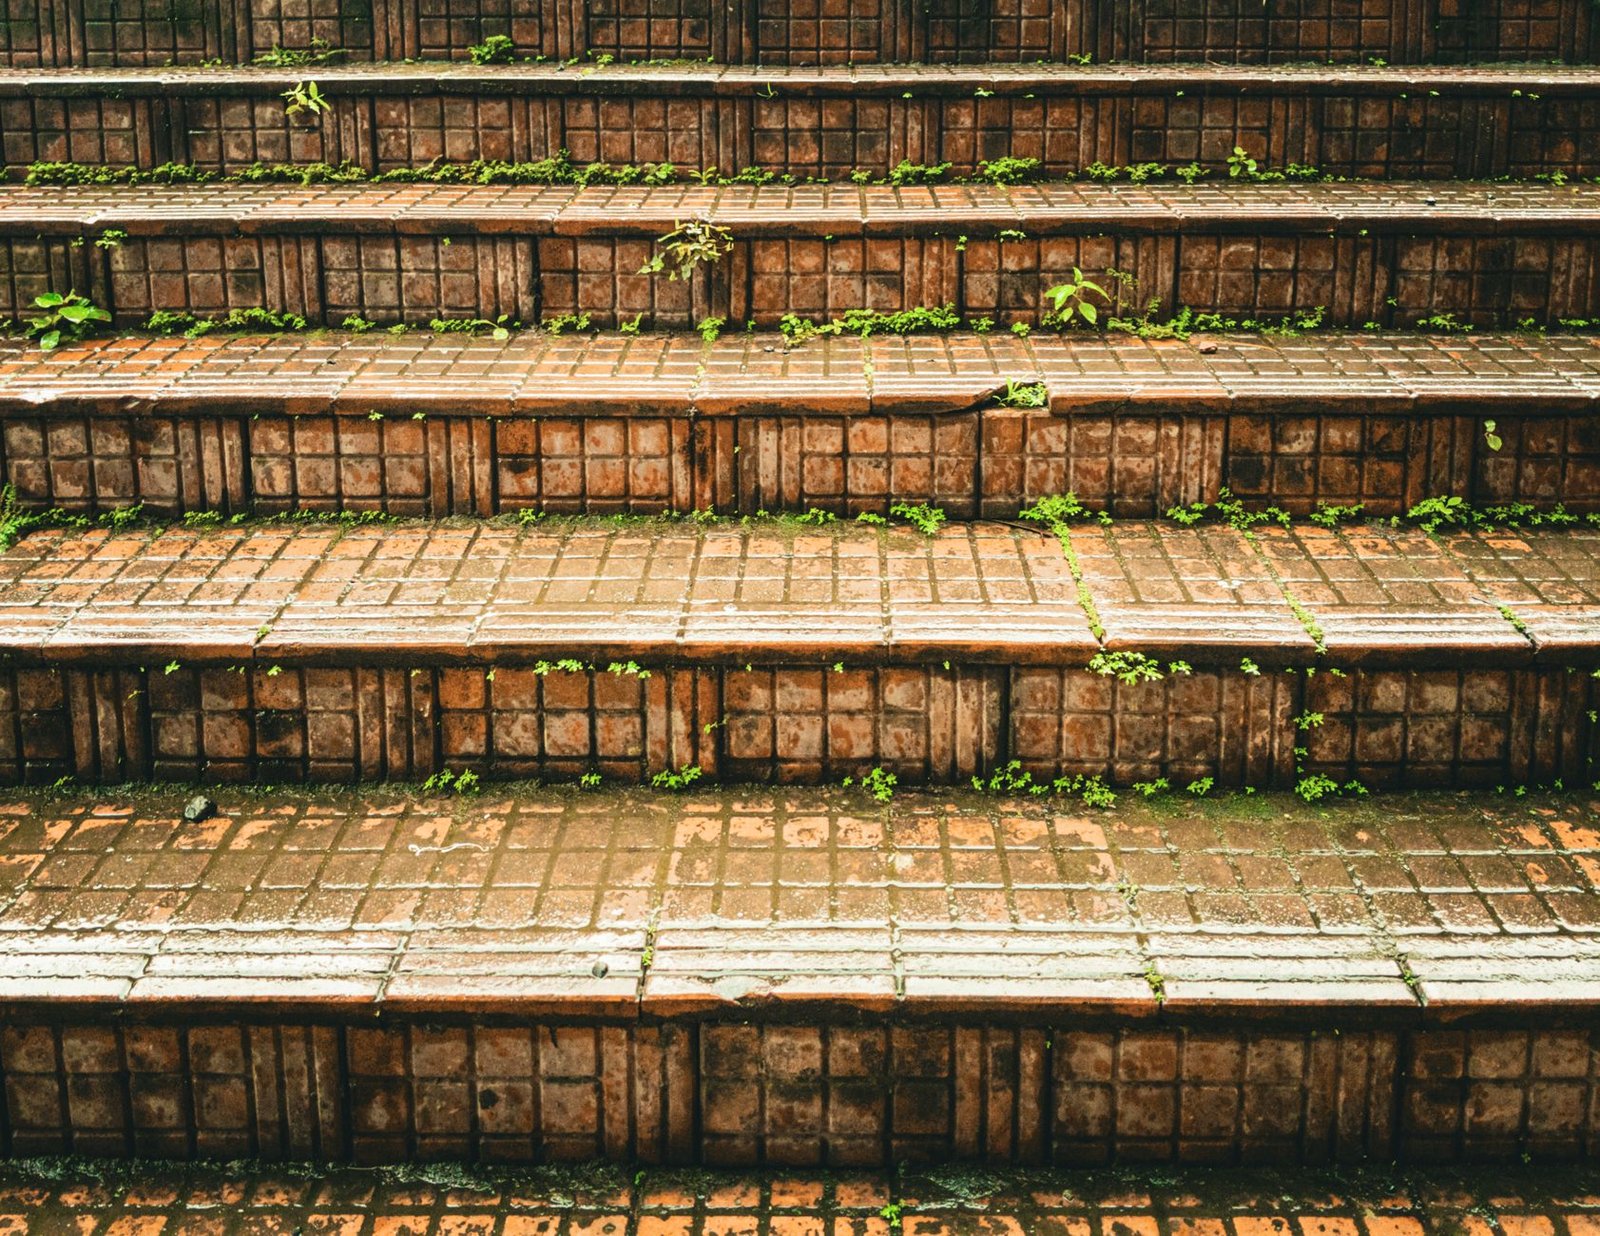
There are three common ways to build paver steps. Unilock's guide to constructing steps describes the same set: large slabs, modular blocks without coping, and modular blocks with coping.
| Method | How it's built | Suits | Watch for |
|---|---|---|---|
| Solid step units or slabs | One-piece precast steps set on compacted base | Short flights, fast installs | Very heavy; usually needs machinery or a crew |
| Block riser with paver tread | A U or line of wall blocks forms the riser; the tread inside is filled with base and sand-set pavers | DIY projects, wide steps, matching the patio pavers | The blocks must be glued so the tread can't push them out |
| Block riser with glued cap | Wall blocks topped with a bullnose coping or cap unit that forms the front of the tread | Clean, finished edge; steps between terraces | Cap must be glued down with masonry adhesive |
For most DIY projects, the second or third option works best. Wall blocks are easy to level, heavy enough to stay put, and the tread behind them can match your patio pavers. Unilock notes that adhesive between the parts makes the whole step behave like a single unit, which is safer and lasts longer.
Let the tread overhang slightly. A cap or paver sticking out about 1/2 to 1 inch past the riser casts a shadow line that makes each step easier to see.
What goes under paver steps
Steps carry concentrated loads on a small footprint. If the ground under them settles, the risers tilt and gaps open between blocks and treads. Unilock puts it simply: never build steps on topsoil, because they will settle or heave. Topsoil is for tomatoes.
The base under steps follows the same rules as a patio base, with a few differences:
- Dig to firm soil. Strip all sod and topsoil from the entire footprint of the steps, not just under the bottom riser.
- Add geotextile on clay. Lay non-woven fabric over the native soil before any stone goes in.
- Use dense-graded base stone, in lifts sized to your compactor. ICPI's thicker 4-to-6-inch lifts presume a heavy 7,000 lbf machine; with a rental plate or hand tamper, place and compact 2 to 3 inches at a time. Under the bottom step, 6 inches of compacted base is a sensible minimum (patios need at least 4), plus 2 to 4 more in cold climates or on wet or weak soil.
- Bury the first course. Set the bottom riser course partly below finished grade, the way a retaining wall is started, so it can't kick out.
- Compact behind every riser. Each step sits on the compacted backfill behind the step below. Loose fill here is the most common reason upper steps sink.
Depth, geotextile and lift compaction are covered in our guide to paver base.
How to build steps with pavers, one riser at a time
With the math done and the base in, the build is repetitive, which makes it manageable. It is basically stacking with homework.
- Lay out the steps. Mark the front edge of each riser with string and stakes, and set a string at the top landing height. Check the width: 36 inches is a comfortable minimum for one person, 48 inches or more lets two pass.
- Excavate and build the base for the bottom step and the full footprint behind it. Compact in lifts.
- Set a thin leveling layer. Screed about 1/2 to 1 inch of fine crushed stone or coarse sand on the compacted base under the first course of blocks.
- Place the first riser course. Set the blocks tight together, level side to side and front to back, with a rubber mallet and a level on every block. This course sets the pattern for every step above, so take your time.
- Backfill and compact behind it. Fill behind the riser with base stone in lifts and compact each one, up to the height needed for the next riser course. Use a hand tamper right against the blocks.
- Set the next riser. Place the next row of blocks on the compacted base, set back from the front of the step below by the tread depth. Glue it to the course below where it overlaps. Repeat steps 5 and 6 to the top.
- Finish the treads. Either glue cap units to the front of each riser and fill behind them with sand-set pavers, or screed a loose inch of ASTM C33 bedding sand (not stone dust) inside each block U and lay pavers to the height of the blocks, with a slight forward pitch. Glue the front row of pavers or caps with masonry adhesive, and sweep polymeric sand into the joints.
Leave the steps alone for the adhesive's curing time before heavy use.
Paver steps on a slope
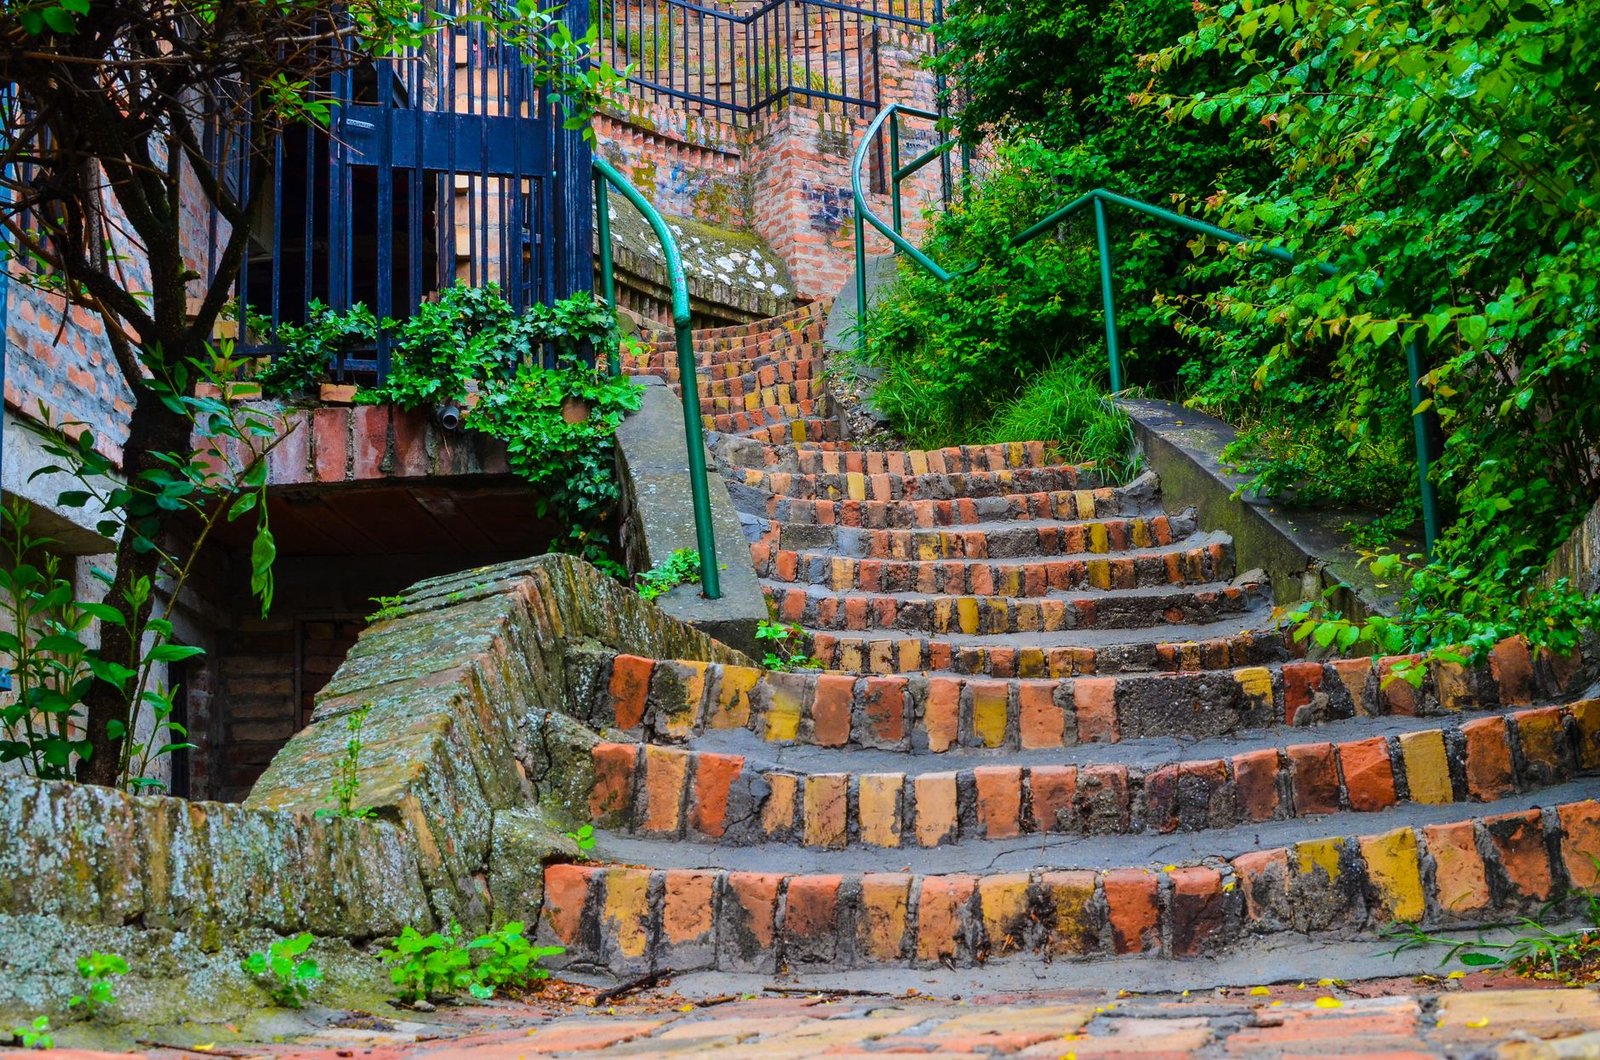
Steps built into a hillside, rather than between two patio levels, need a little more planning:
- Measure the slope first. Run a string level from the top of the slope to a stake at the bottom and measure the drop at the stake. That is the total rise; the distance between stakes is the run.
- Fit the steps to the slope. If the run is long compared with the rise, use deeper treads or add flat landings between groups of steps, instead of making steep steps and a long level walk. If the run is short, you may need to cut into the slope more at the top.
- Treat each step as a small retaining wall. On a slope, every riser holds back soil. Bury the bottom course, backfill with free-draining stone, and don't let the steps rely on loose fill.
- Add cheek walls on steep grades. Block walls on each side keep soil from spilling across the treads and give the steps a finished look.
- Handle the water. Rain running down the hill will use your steps as a spillway if you let it. Pitch the treads forward and give the water a way around, such as a swale or stone channel beside them.
If the steps are part of a larger sloped patio design, our guide to building a paver patio on a slope covers terraces, cut and fill and retaining walls.
Landings, handrails and lighting
A few details make paver steps safer, and some are required by code on entry steps:
- Landings. At an exterior door, the IRC generally requires a landing at least 36 inches deep in the direction of travel. Landings also break long flights into shorter runs.
- Handrails. The IRC requires a handrail 34 to 38 inches high on at least one side of a flight with four or more risers. I checked whether garden steps get a pass; sometimes they do, but a rail is still worth adding on steep or busy steps.
- Lighting. Low-voltage lights in the risers or wall caps show each tread edge at night without glare.
- Contrast. A tread edge in a different color from the field pavers, or a cap with a shadow line, makes each step easier to see.
Get the rise right and the rest is stacking
Paver steps succeed or fail on two things you can't see once they are finished: equal riser heights and compacted base under every step. Measure the total rise, divide it evenly, pick blocks and caps that hit that height, and build from the bottom up, compacting behind each riser before setting the next. Do that, and the pavers on top are the easy part. If the tape says 6 5/8 inches, build 6 5/8 inches; nobody's knees will ever notice, and that's the point.
FAQ
How tall should paver steps be?
Aim for 6 to 7 inches per riser for outdoor steps. The IRC allows up to 7 3/4 inches on residential stairs, but lower risers are more comfortable outdoors. Every riser in a flight should be the same height, within 3/8 inch.
How deep should paver step treads be?
Most outdoor paver steps work well with treads of 12 to 16 inches. Use the rule of thumb that two risers plus one tread equal 25 to 27 inches. The IRC minimum for residential stairs is 10 inches.
Do paver steps need a concrete footing?
Not usually. Segmental block steps are built on a compacted gravel base, like a retaining wall, which allows small movements without cracking. A poured concrete footing is normally used only when the steps are mortared or attached to a structure, or where local code requires it.
Can you glue pavers to make steps?
Yes. Use a masonry or landscape block adhesive between block courses, under cap units, and under the front row of pavers on each tread. The adhesive stops caps and edge pavers from being kicked loose. The field pavers on the tread can be sand-set as usual.
How do you build steps with pavers on a slope?
Measure the total rise and run of the slope, divide the rise into equal 6- to 7-inch risers, and build each step from the bottom up on compacted base. On a slope, each riser acts as a small retaining wall, so bury the first course, backfill with compacted stone, and give runoff a path around the steps.