Last Updated on September 23, 2026 by Umar Farooq
Paver installation comes down to seven steps: plan the layout and slope, dig out 7 to 9 inches, compact 4 to 6 inches of crushed stone in thin lifts, screed a 1-inch bed of loose concrete sand, lay the pavers, cut and restrain the edges, then compact the surface and sweep joint sand in. I lined up the install guides from three manufacturers side by side, and they agree on one slightly awkward thing: the pavers are the easy, satisfying part. Everything that decides whether your patio stays flat for twenty years happens underneath them.
This guide covers the full job for a foot-traffic patio, linking out where a step deserves its own deep dive.
Call 811 and draw the patio before a shovel moves
Every install starts on paper. Sketch the area to scale, noting the doors, downspouts and hose bibs it works around. Then call 811 (or use 811 Before You Dig) a few days ahead. It's free, and the wait varies by state.
The marks are step one, not the whole job. I read the NTSB brief on the 2005 Bergenfield, New Jersey explosion twice, because the gas line had been marked. Twice. A contractor's trench about 2 ft from the service line was left unshored overnight, the soil slumped, the pipe pulled apart at a fitting, and three residents died. A patio dig is shallow, but it sits right against the house, where the service lines come in. Near a mark, dig by hand.
Decide three things now, because each one changes how much you dig and buy:
- Size and shape. Squares and rectangles that match the paver module waste the least material. Curves look great and add cuts; order 10% extra for a straight-edged patio and 15 to 20% for curved designs.
- Paver thickness. Most patio pavers are 2 3/8 inches (60 mm) thick. Driveway pavers are thicker and the base is deeper; that is a different job, covered in our paver driveway installation guide.
- Which way water goes. Water must run away from the house. Pick the low edge now, before you dig.
Lay out the shape with marking paint, then drive stakes a foot or so outside each corner. They survive the excavation and later carry your string lines.
How deep to dig for a paver installation
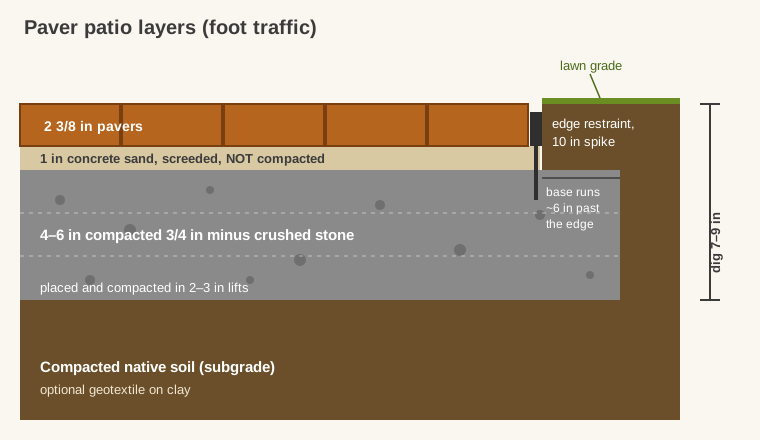
Dig to the thickness of every layer added together, measured down from the finished paver surface:
| Layer | Foot-traffic patio |
|---|---|
| Pavers | 2 3/8 in |
| Bedding sand (loose) | 1 in |
| Compacted crushed-stone base | 4 to 6 in |
| Total excavation | about 7 to 9 in |
Mutual Materials' paver installation instructions put the minimum at 7 inches below final paver elevation for patios and walks. ICPI's Tech Spec 2 sets the floor at 4 inches of compacted base on well-drained soil, then adds 2 to 4 inches on wet or weak soil and in cold climates. A patio carrying a hot tub or a heavy outdoor kitchen also deserves more. Our paver base guide covers how depth changes with soil and load.
Two details DIY installs often miss:
- Over-dig past the edges. The base must extend beyond the pavers by roughly its own depth, so a 6-inch base runs about 6 inches past the finished edge. Unilock's base preparation do's and don'ts gives the example of a 20 x 10 ft patio being excavated to 21 x 11 ft. Without that shoulder, the edge restraint sits on soft soil and the outer row rolls outward.
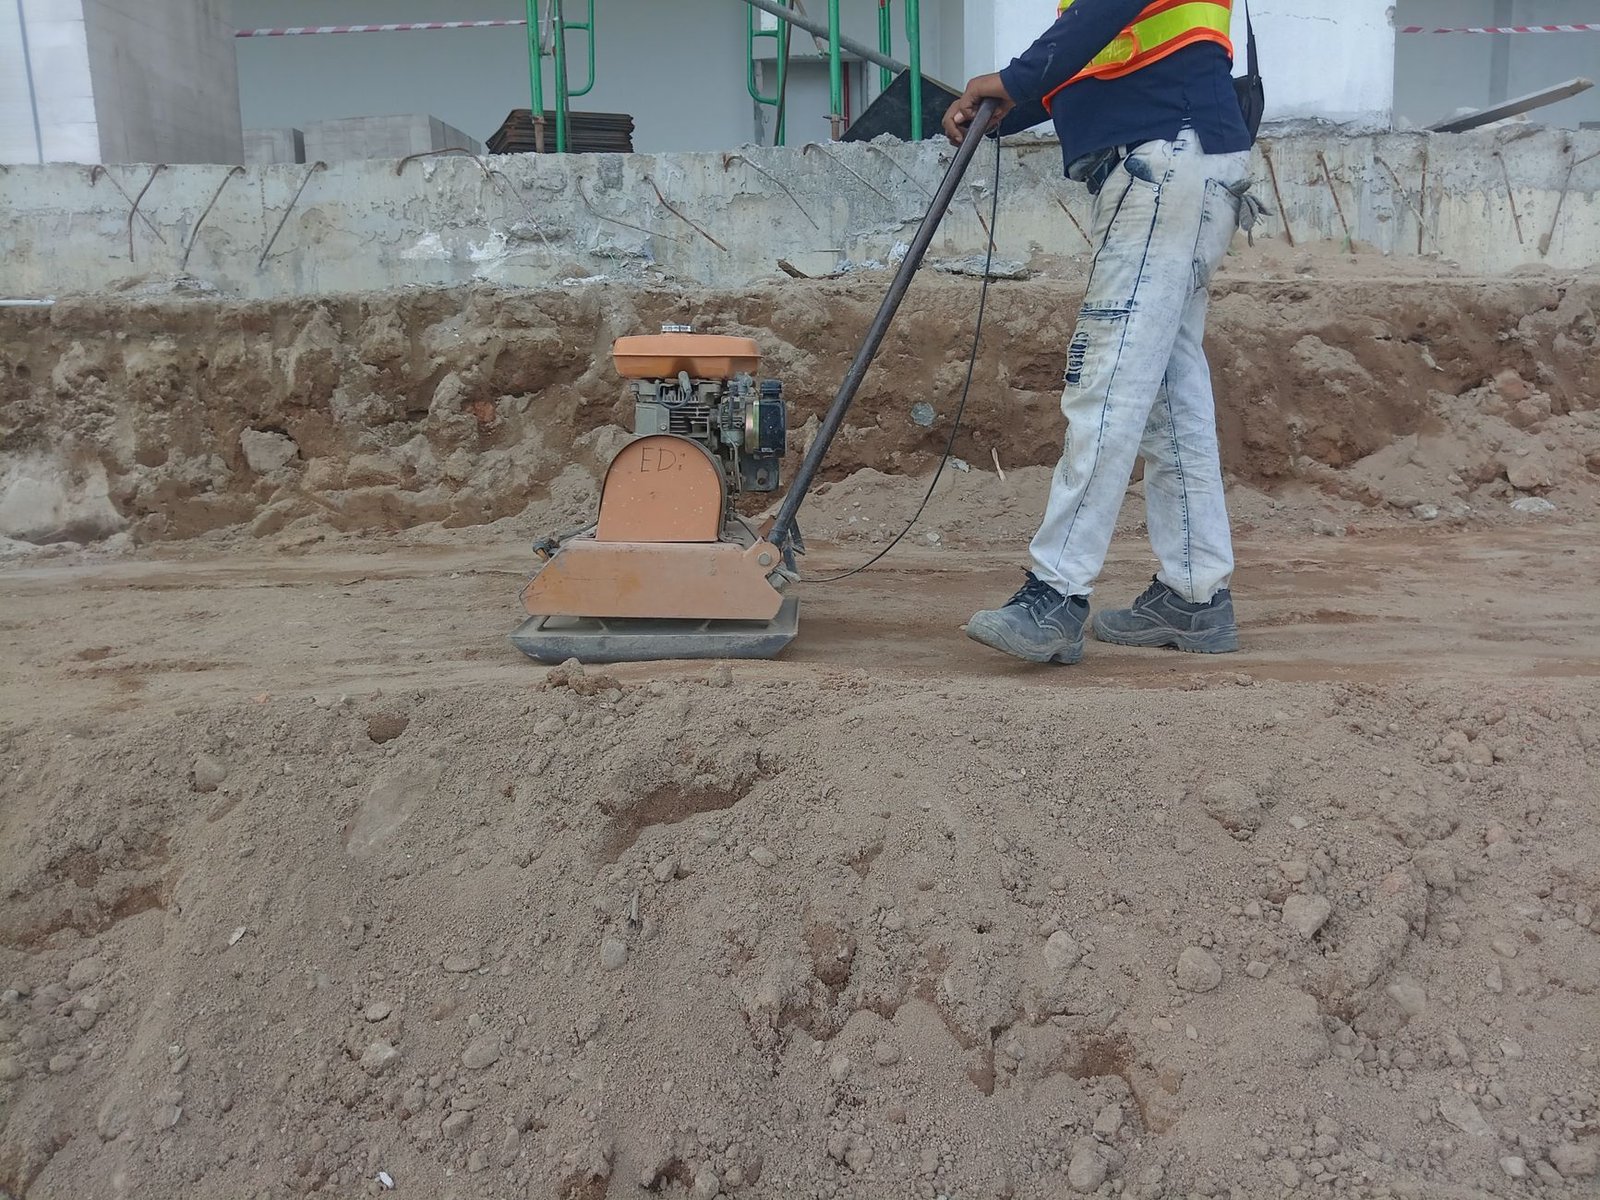
- Compact the soil you dig down to. Run a plate compactor over the subgrade before any gravel goes in. Soft spots show up as footprints and ruts. Dig them out and refill with base stone rather than hoping the gravel bridges them.
For scale, a 12 x 16 ft patio dug 7 1/2 inches deep produces about 4 1/2 cubic yards of soil, before the over-dig. Decide where the spoil goes before you start, or it ends up exactly where the gravel truck needs to be.
Set the slope with string lines, not by eye
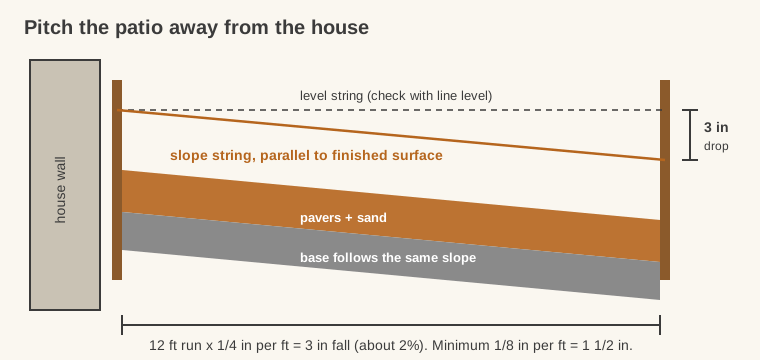
A patio that looks flat must not be flat. ICPI's minimum slope is 1.5%, and 2% is a comfortable target: roughly 3/16 to 1/4 inch of fall per foot away from the house. Over a 12-foot-deep patio, 1/4 inch per foot means the far edge sits 3 inches lower than the edge at the wall. Nobody at the barbecue will notice. The rain will.
The simple way to build it in:
- Tie a string between a stake at the house and a stake at the far edge, and level it with a line level.
- Measure the run (12 ft here), multiply by 1/4 inch, and lower the string that much at the far stake (3 inches).
- Measure down from this sloped string as you grade the soil, the base and the sand. Every layer follows the same fall, so the pavers inherit it for free.
The base is where slope gets built. Fix it in the sand and you get a bed 1/2 inch thick at one end and 2 inches at the other, and the thick end settles.
Build the base in thin, compacted lifts
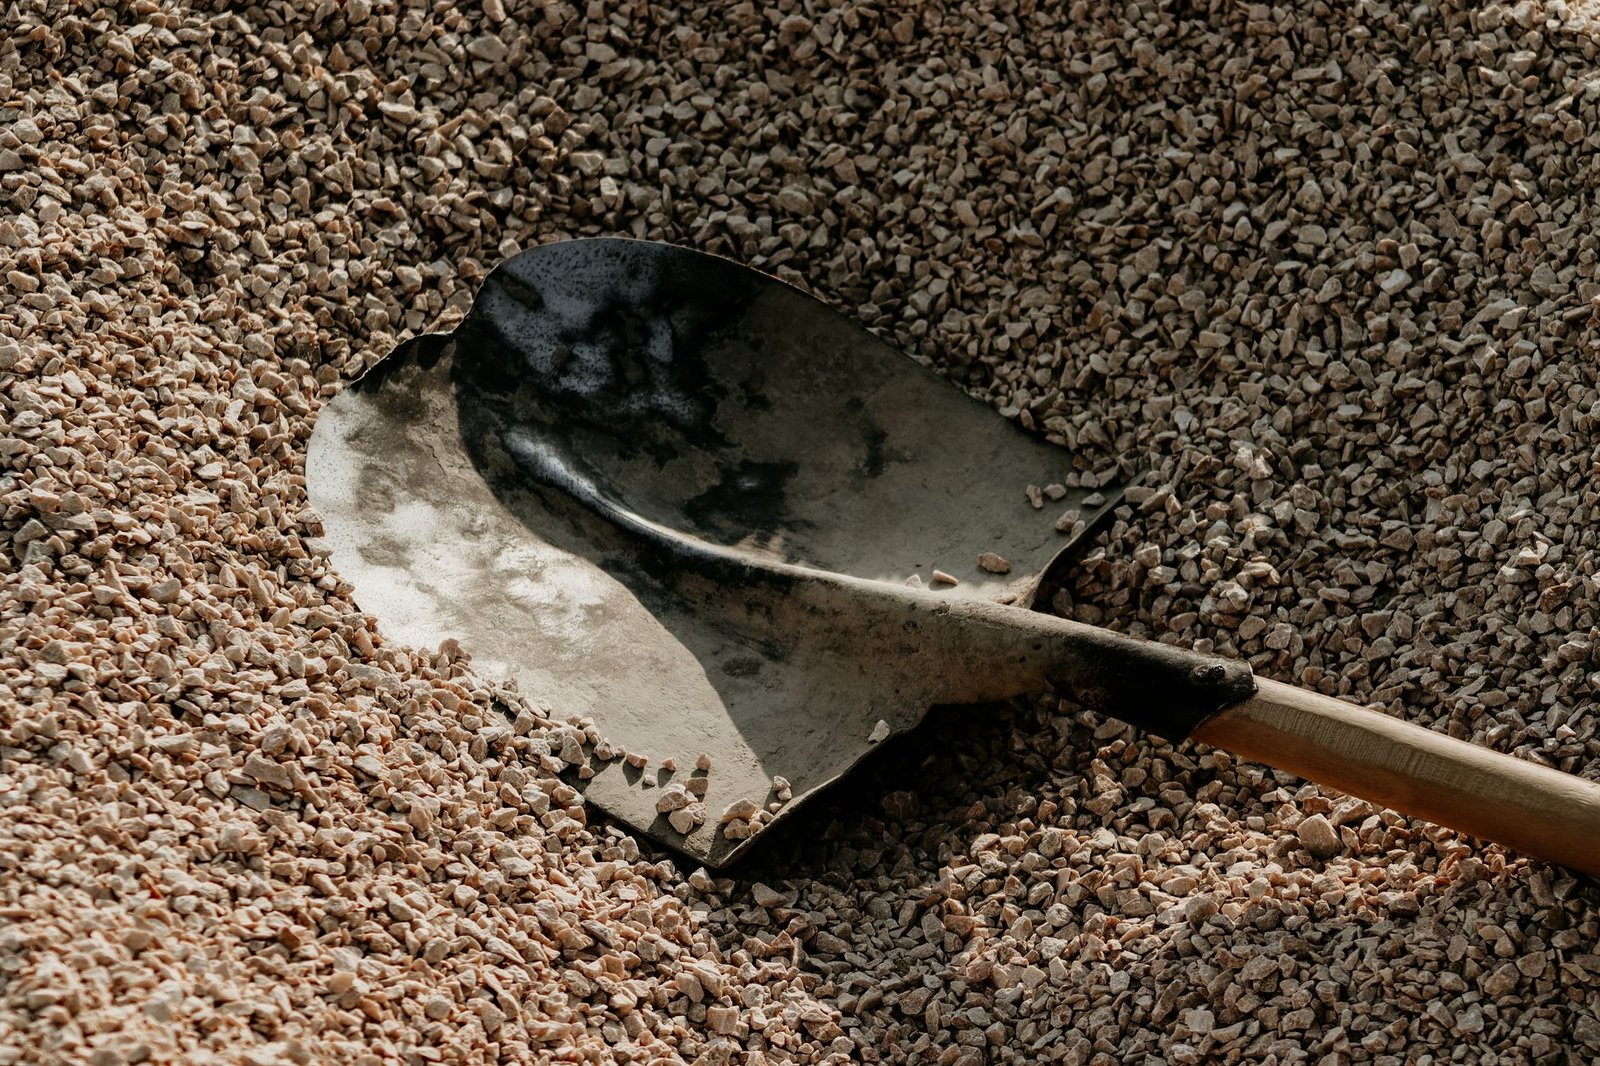
The base carries the patio. Use a dense-graded crushed stone, usually sold as crusher run or "paver base". The mix of sizes down to fines is what lets it lock up hard. Round pea gravel, river rock and plain topsoil won't lock; they just sit there being round. Our paver base material comparison explains which stones work and which to refuse at the yard.
How to place it:
- Lay geotextile first on clay or wet soil. It keeps the stone from being pushed down into mud over time. On sandy, free-draining soil it's optional.
- Match the lift to the compactor. Lifts of 4 to 6 inches are ICPI's number for a 7,000 lbf plate; smaller, 5,000 lbf plates need thinner ones. Rental plates are usually the smaller kind, so spread 2 to 3 inches at a time. Dump 6 inches and compact once, and you get a firm crust over loose stone.
- Dampen the stone slightly. Moist, not soaked, compacts much tighter than dry.
- Make 2 to 3 passes per lift, overlapping each pass, and check the grade against your strings after each lift.
Rent the compactor for the weekend rather than buying one; the base and the finished pavers both fit inside one rental.
Stop when the compacted base sits one paver thickness plus 1 inch below finished height, about 3 3/8 inches below the string for 2 3/8-inch pavers. Check it's flat within 3/8 inch over a 10-foot straightedge (CMHA's tolerance) while fixing it is still just raking.
Screed 1 inch of sand and never compact it
The bedding layer is a thin, even cushion the pavers settle into. Use coarse, washed concrete sand (ASTM C33). Skip stone dust, limestone screenings, mason sand and play sand; CMHA's spec rules out the first three by name. They hold water, pump out of the joints, or both. Our sand for pavers guide lays out which sand goes where.
The method rewards patience:
- Lay two lengths of 1-inch outside-diameter pipe (or 1-inch electrical conduit) on the compacted base, 6 to 8 feet apart, parallel to the slope.
- Shovel sand between them and pull a straight 2×4 across the pipes. What is left is a flat 1-inch bed that follows the slope of the base.
- Lift the pipes out, fill the grooves with sand, and smooth them with a trowel.
- Screed only what you can pave in the next hour, and stay off the finished bed. Kneel on the pavers you have already laid, not on the sand.
Don't compact the sand before laying. It sounds backwards, but the loose sand is what lets each paver settle and lock when you run the compactor over the finished surface. Unilock calls compacting the bedding layer the single most common installation mistake. The finer points, such as fixing a low spot or screeding around a curve, are in our guide to screeding sand for pavers.
Laying the pavers: click and drop from a fixed edge
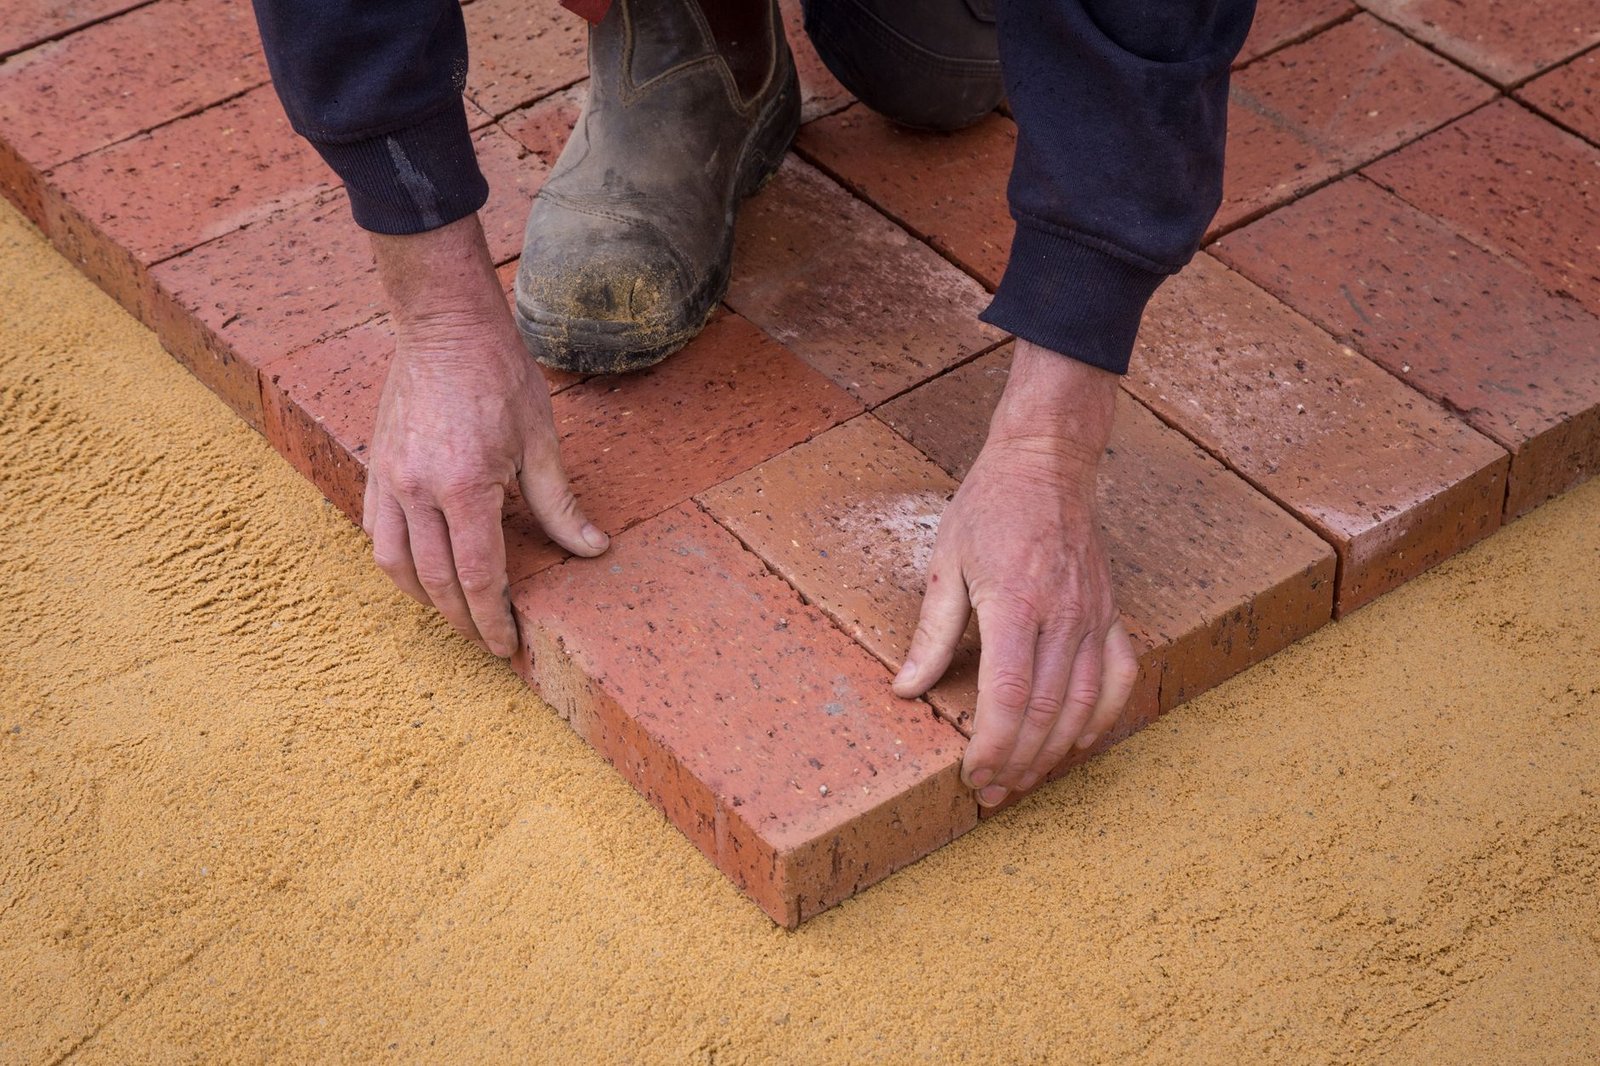
Start at a straight, fixed edge, ideally the house or a right-angle corner, and work outward so you're always standing on laid pavers.
- Click and drop. Set each paver against its neighbor, then lower it straight down onto the sand. Don't slide it into place; that plows the bed. Don't hammer it down either.
- Keep joints tight and even. Most concrete pavers have small spacer nubs that set a joint of roughly 1/16 to 3/16 inch. Butt them up so the nubs touch.
- Pull from several pallets at once. Drawing from three or four at a time blends the color, so you don't end up with a light stripe across the patio that everyone assumes was intentional.
- Check your lines every few rows. Run a string across the field and nudge rows straight with a flat bar. Wandering joint lines are easy to fix now and impossible later.
Leave edge cuts until the whole field is down.
Which paver pattern should a first-timer choose?
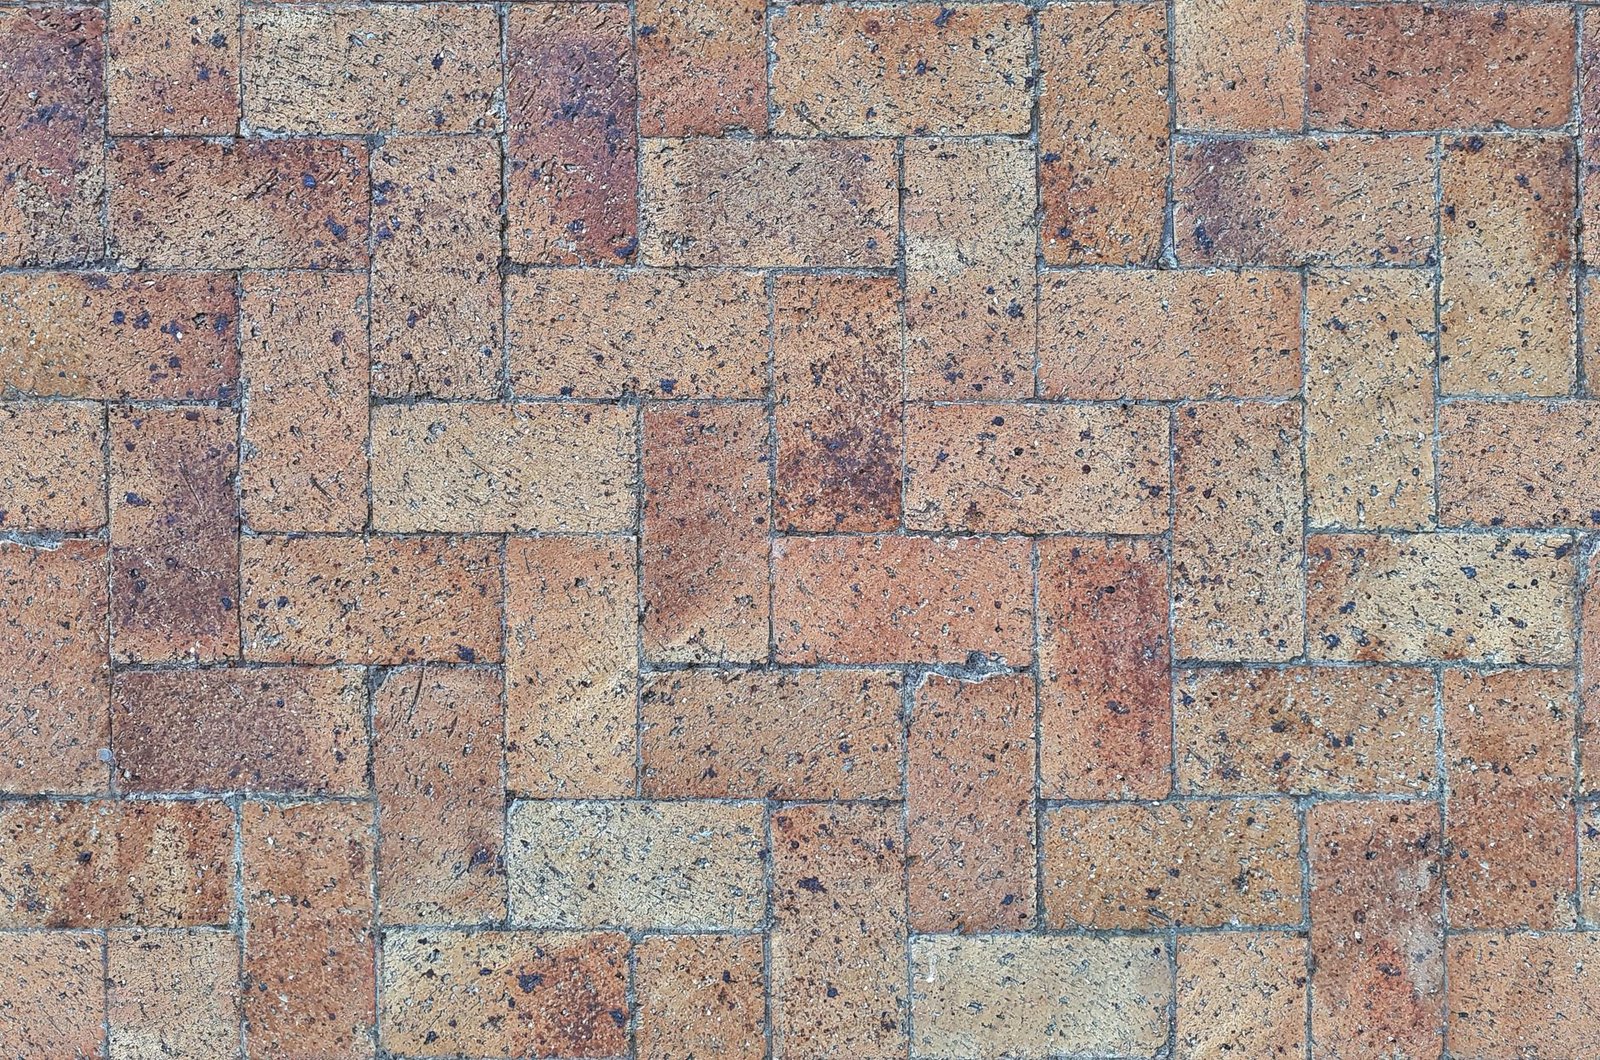
Pattern sets both the look and the workload.
| Pattern | Difficulty | Cuts | Notes |
|---|---|---|---|
| Running bond | Easy | Few, at two edges | Classic brick look; run it across the main line of sight |
| Jack-on-jack (stack bond) | Easy | Few | Clean, modern; joints show every wobble, so string lines matter |
| Basketweave | Moderate | Some | Works with 2:1 rectangular pavers |
| Herringbone (45 or 90 degree) | Harder | Many, on every edge | Strongest interlock; standard for driveways |
For a first patio, running bond or a manufacturer's multi-size "random" pattern is the forgiving choice. Herringbone looks sharp, but at 45 degrees every perimeter paver needs a cut. (It's the pattern people choose from the photo and reconsider around cut number forty.)
Make the cuts, then lock the perimeter
With the field laid, mark each edge paver against a string or a straightedge and cut it. A cut-off saw or masonry saw with a diamond blade gives clean cuts. Cut wet, or use a saw with dust control, and wear eye, ear and respiratory protection: concrete dust contains crystalline silica. Avoid slivers narrower than about a third of a paver; they work loose. Shift the pattern or cut two pavers down instead.
Then install edge restraint on the compacted base shoulder, tight against the outer row:
- Plastic or aluminum paver edging pinned with 10-inch spikes every 8 to 12 inches (closer on curves).
- Or a buried concrete haunch sloping off the outer course.
Edge restraint isn't optional trim. Leave it out and the patio migrates toward the lawn, a little every season and never back: the outer rows creep, joints open and the whole field loosens. It goes in before you compact the surface.
Compact, sweep in joint sand and let it cure
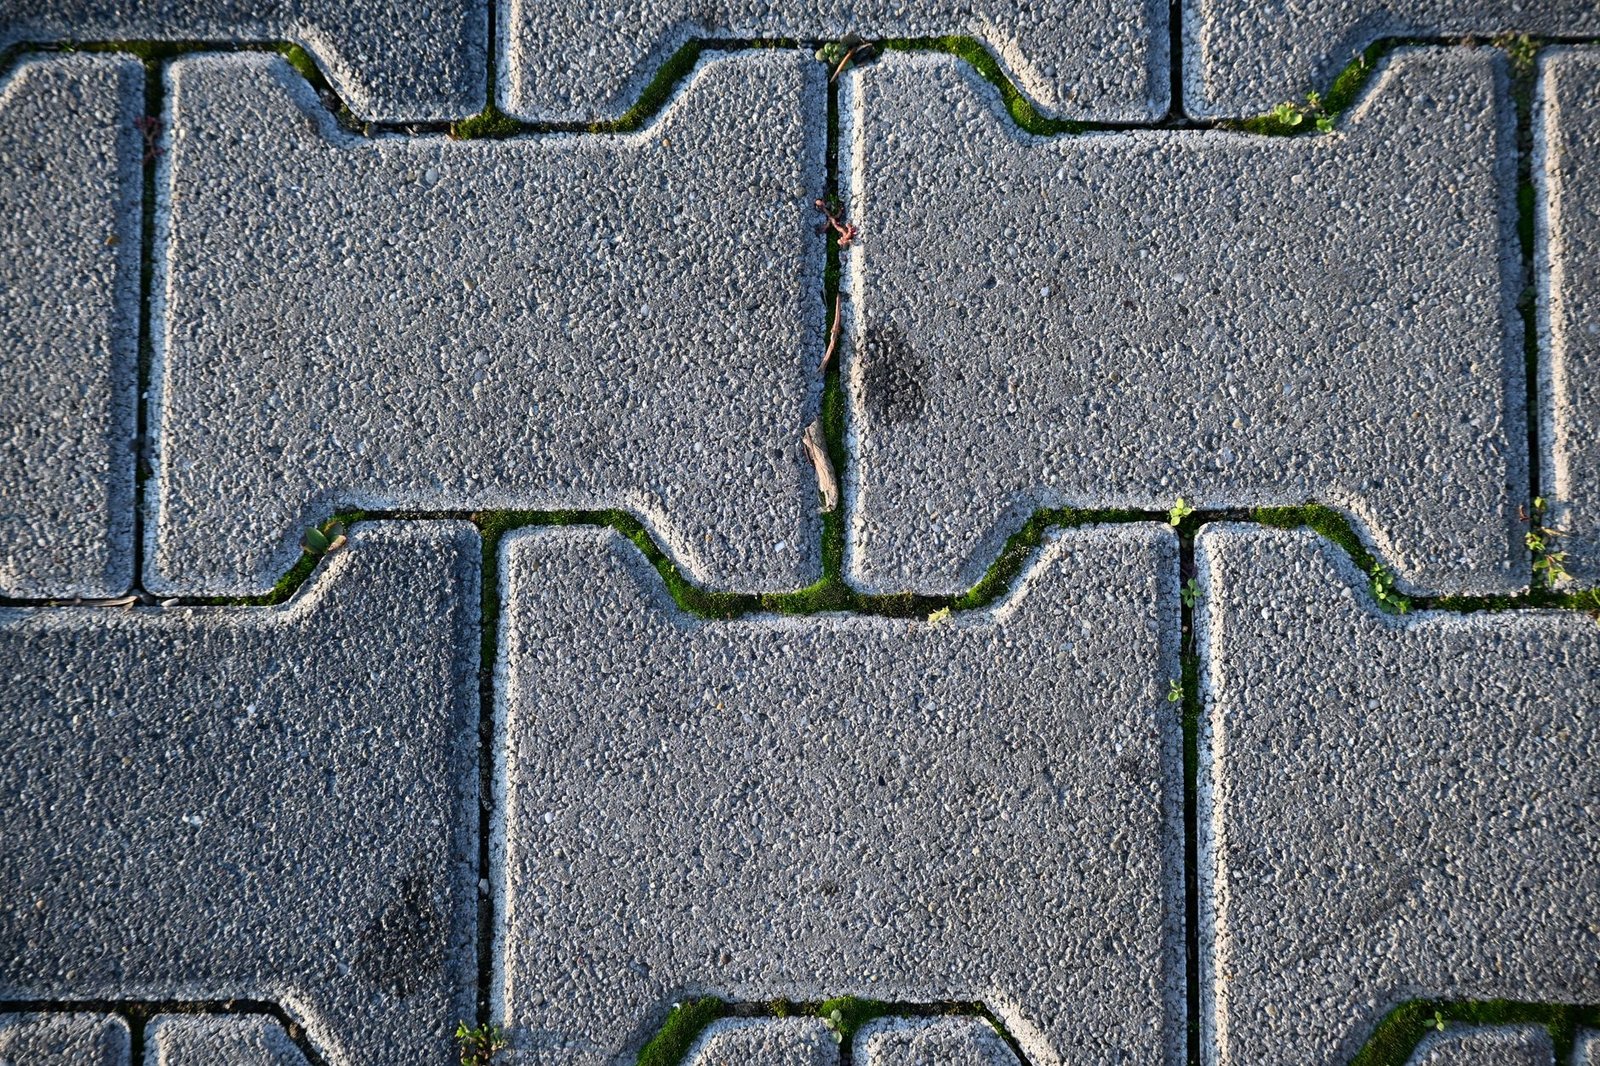
Now the patio gets its strength:
- Sweep the surface clean and dry.
- Run the plate compactor over the whole area, ideally with a urethane pad so it doesn't scuff the pavers. Make 2 to 3 passes, changing direction each time. The pavers settle into the sand and some of it rises into the joints.
- Sweep dry joint sand into the joints and compact again. Repeat until the joints are full.
For most patios, polymeric sand is the better joint fill, because it resists weeds, ants and washout. Sweep it in, compact, top up to about 1/8 inch below the surface (or the chamfer), blow the faces clean, and mist exactly as the bag says. Too much water flushes the binder; polymer left on top hardens into haze. Keep traffic off for the bag's cure time. Read the forecast before you read the bag; one shower on uncured polymeric sand undoes the whole afternoon.
A realistic timeline and material list for a 12 x 16 patio
The top guides skip these numbers, so I did the arithmetic for a 192 sq ft patio with a 4-inch base:
| Item | Quantity | How it is figured |
|---|---|---|
| Pavers | about 212 sq ft | 192 sq ft + 10% waste |
| Crushed stone base | about 3 1/2 cu yd (roughly 4 1/2 to 5 tons) | 13 x 17 ft footprint x 4 in, plus about 25% for compaction |
| Concrete sand | about 0.6 cu yd | 192 sq ft x 1 in |
| Edge restraint | about 56 ft | full perimeter, less any edge against the house |
| Polymeric sand | per bag coverage chart | varies with joint width and paver depth |
Stone weight varies by quarry, so ask the yard for its tons-per-yard figure.
A realistic DIY paver installation timeline for a patio this size:
- Day 1: layout, locate, excavation and subgrade compaction. Rent a mini skid steer or small excavator if you can; digging by hand is the slowest part.
- Day 2: geotextile if needed, base lifts, compaction and fine grading.
- Day 3: screeding and laying the field.
- Day 4: cuts, edge restraint, surface compaction and joint sand, weather permitting.
Two people comfortable with a wheelbarrow can do it over two long weekends; first-timers should budget extra time for checking grade on the base.
The base is the patio; the pavers are just the finish
Almost every failed patio fails from underneath: a base dumped in one thick layer, sand compacted before laying, no slope, or no edge restraint. I'd put a plain, mid-priced paver on a well-built base over a premium one on a rushed base every time, because pavers only spread the load; the stone underneath carries it. The paver gets the catalog page, and the gravel gets a delivery ticket and no credit. Get the gravel right anyway. In ten years nobody will say anything about your patio at all, which is the highest praise a patio gets.
FAQ
How long does paver installation take?
A 150 to 250 sq ft DIY patio typically takes four working days: one to dig, one for the base, one to screed and lay, and one to cut, restrain the edges and sand the joints. Crews with machinery often finish in two to three days. Polymeric sand then needs the dry cure time printed on the bag before heavy use.
Can I install pavers myself?
Yes. A foot-traffic paver patio is one of the most achievable hardscape projects for a careful DIYer. The skills are measuring, grading to a string line and running a plate compactor, all of which can be learned. Hire out, or at least rent machinery for, jobs with big excavation volumes, steep slopes or vehicle loads.
Do you really need gravel under pavers?
For a patio, yes. Sand alone on soil shifts, ruts and heaves. The compacted crushed stone base spreads the load and drains water. The only common exception is stepping stones and very light garden paths, which we cover in how to lay pavers on dirt.
What kind of sand goes under pavers?
Coarse, washed concrete sand (ASTM C33), screeded 1 inch thick and left loose. Play sand, mason sand and stone dust hold water and are poor bedding choices. The joint sand on top is a different product: fine sand or polymeric sand.
How much slope should a paver patio have?
At least 1.5% (ICPI's minimum), and 2% is a comfortable target, which is roughly 3/16 to 1/4 inch of fall per foot away from the house. On a 12-foot patio that is about 2 1/4 to 3 inches from the house to the far edge.
What is the best time of year to install pavers?
Dry weather with temperatures above freezing is ideal, so late spring through early fall in most of the US. Avoid working on saturated or frozen soil, which will not compact properly. Watch the forecast for the polymeric sand step, since it needs a dry window to cure.