Last Updated on October 20, 2026 by Umar Farooq
A paver planter box is a box of pavers or wall block, glued or stacked around a drained soil core, and there are three ways to build one: stack wall block on a gravel base, glue flat pavers into a small box, or screw a wood frame and slide paver caps into it. Pick by size. Small and decorative, glue it. Anything holding more than a few cubic feet of wet soil, treat it like a short retaining wall and give it a base.
I read through the standard tutorials before writing this. They agree on the construction and almost entirely skip the part that makes planters fail, which is that wet soil is heavy and it pushes outward.
Pick the build by how much soil it holds
The three methods differ in effort, cost and how much soil the box can safely hold.
| Build | Materials | Best for | Limit |
|---|---|---|---|
| Glued paver box | Flat pavers, landscape adhesive | A small tabletop or step-side planter | Weak joints if it holds a lot of soil |
| Wall block on a gravel pad | Segmental wall block, gravel, drain pipe, fabric | A larger planter or a long raised bed | More digging and base work |
| Wood frame with paver caps | Lumber, paver or cap blocks, adhesive | A modern, sturdy box with a smaller footprint | Wood needs to be rated for ground contact if it touches soil |
My own opinion, and it is the one that applies to every planter I read about: buy and glue less, and build the base. A box that holds a lot of wet soil is a small retaining wall, and its failure is the same, a bulge you notice in the second season.
The glued paver box
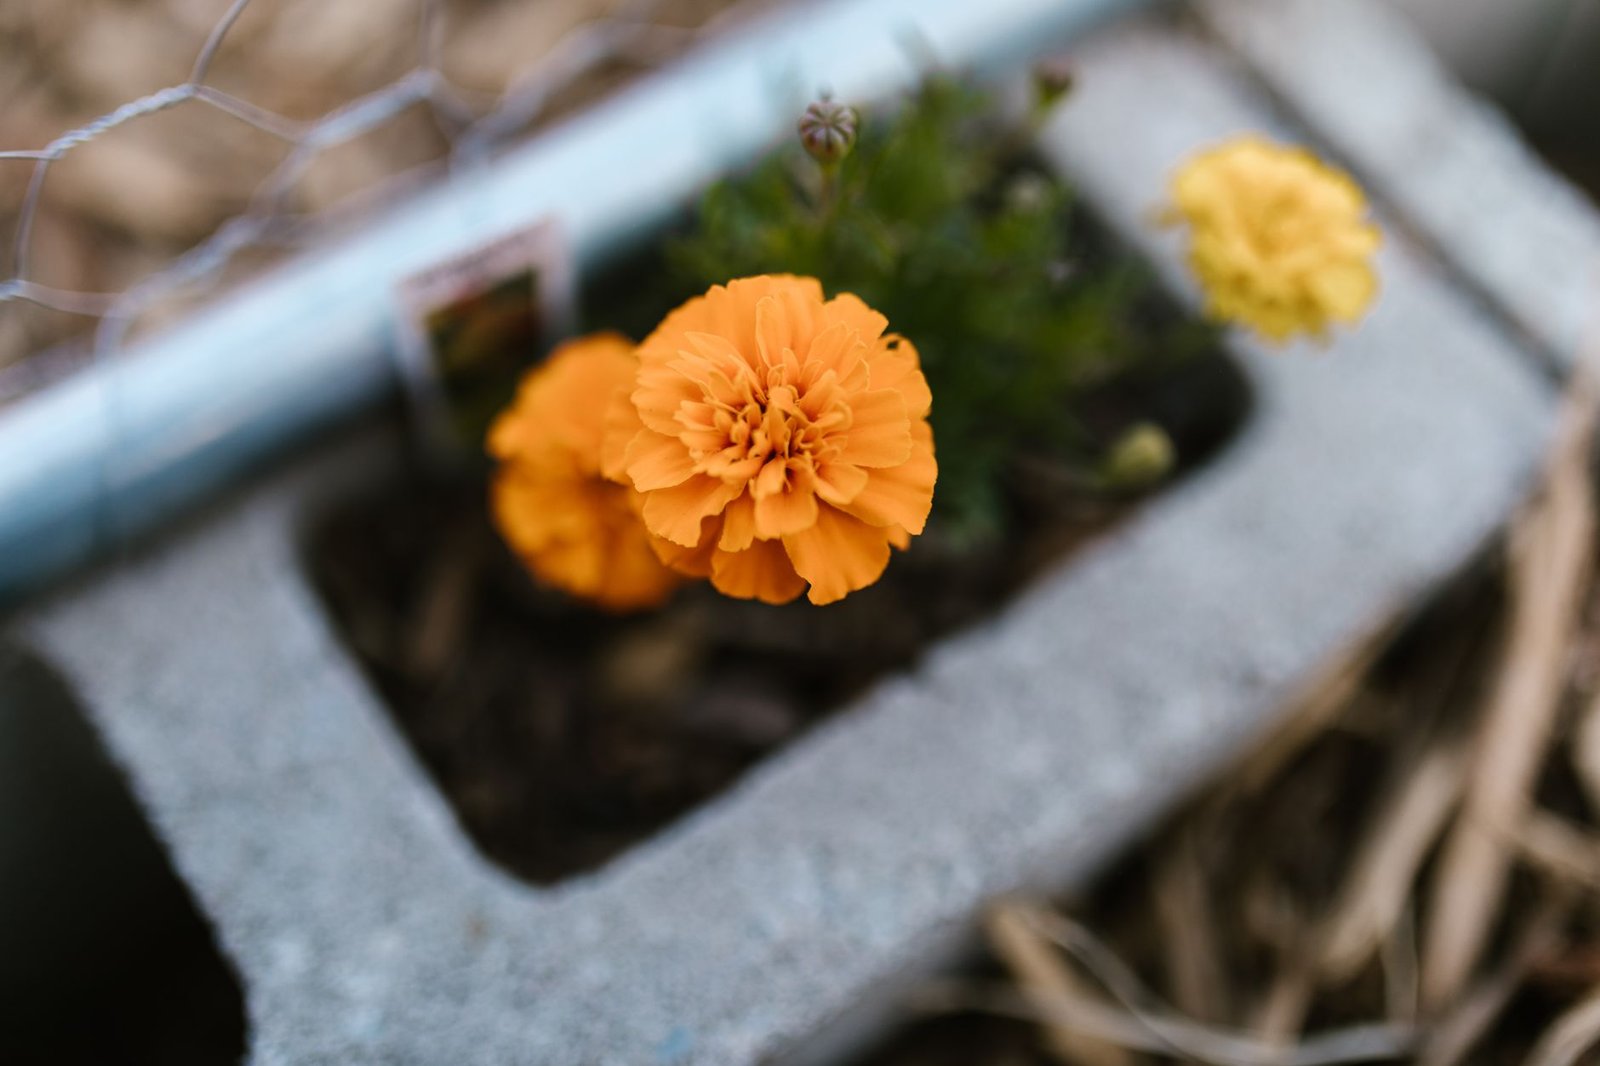
This is the quickest. Several tutorials, including Ana White's modern paver planter plan, use flat concrete caps or pavers with landscape adhesive. In her plan the blocks slide into a wood frame, and the openings are built about 1/4 inch larger than the blocks to leave room for adhesive. She also notes that the finished planter is "very heavy," which is good for wind and bad for moving it.
How to approach it:
- Lay it out dry. Stand the pavers in a square or rectangle and check the corners with a square before gluing anything.
- Glue in layers, using adhesive made for concrete block, and let each layer set per the label.
- Stagger the vertical joints the way brickwork does, so no seam runs straight up a corner.
- Leave drainage. One tutorial I read keeps the bottom pavers unglued so water can leave. Whatever method you use, a planter that cannot drain turns soil into soup.
- Wait before moving it. Tutorials suggest a day or two for the adhesive to cure before you move or fill it, and the label overrides me.
Our guide to paver adhesive covers which products suit concrete units and what the cure times mean.
The wall-block planter on a gravel base
For a taller or longer box, use wall block, and build it the way you would build a short wall. Unilock's DIY paver planter box guide gives the sequence, and it is worth reading even if you buy another brand:
- Excavate to one block height plus 6 inches of gravel. Their example is 6-inch blocks needing at least 12 inches of excavation.
- Line the base with landscape fabric, and run a perforated drain pipe along the back so it exits to a drain or lower ground.
- Add 6 inches of compacted open-graded gravel (their spec is 3/4-inch, ASTM No. 57).
- Set a base pad, set the first course level with a string line or laser, and stack the next courses offset by half a block.
- Use concrete adhesive between courses if the blocks do not have a locking lip.
- Line the inside with filter fabric, then fill with soil and plant.
If your planter sits on an existing paver patio, you can skip the excavation, but the planter still needs a firm and level surface under it. The pavers need to be well bedded on their own base, which is the point of how much paver base you need for the patio underneath. Garden bed pavers covers the larger version of this, and it has more on wall block and footings.
Drainage is the whole design

Every tutorial I opened includes drainage, and it is easy to see why. Soil that sits saturated pushes on the walls and rots roots.
Three parts do the work:
- Gravel under the box. Open-graded stone lets water move down and out. Unilock uses 6 inches.
- A drain path. A perforated pipe at the back of the box leads water out to lower ground or a drain. For a small glued box, a few gaps at the base do the job instead.
- Fabric on the inside walls. Filter fabric lets water through and stops soil washing out between the blocks. Ana White's plan lines the box with landscape fabric for the same reason.
If your planter is going on a finished patio, think about where the drain water ends up. Water coming out the bottom of a planter will run across the pavers, so tilt the box slightly toward a bed or the lawn, and check our notes on patio drainage for where that water should go.
Size it before you buy the blocks
Most of the sizing questions come down to depth and weight.
- Depth: shallow planters dry out quickly and suit herbs and annuals. Deeper ones suit shrubs and vegetables but weigh far more.
- Width: wide enough to reach across from one side. If you cannot reach the middle from the edge, you will compact the soil by stepping in.
- Height: every course adds weight and pressure at the base. A low box on a patio is a design feature. A tall one is a wall, and walls need footings and drainage like the Unilock build.
- Corners: these are the weak points. Interlock the courses at each corner by staggering joints.
Calculate how many blocks you need by courses. If a wall block is 6 inches tall and you want the box 18 inches high, that is three courses plus a cap. Do the same for each side and round up one block.
Cap it, and then let the soil settle
A cap hides the block cores and gives the box a clean top edge. Concrete caps are glued on with adhesive, and our guide to paver caps explains the types.
Soil settles after the first few waterings, so fill to just under the top and top up a week later. A box filled to the brim on day one will sit half an inch low by the end of the month.
Build it to drain, and it will outlast the plants
The simplest summary of a paver planter box is that the pavers are the easy part. Choose glue for small, wall block for big, put gravel and a drain path under everything, and line the inside so soil stays where you put it.
If the planter is full and you are wondering why the corner is leaning, you are right on schedule. Dig it out, check the drain, and rebuild the weak course. It is much quicker than it sounds, and much quicker than doing it twice.
FAQ
Can you glue pavers together to make a planter?
Yes. Landscape or concrete adhesive holds pavers and caps together for a small box. Stagger the joints, let the adhesive cure per the label, and leave a way for water to drain from the bottom.
What do you put in the bottom of a paver planter box?
Gravel and a drain path. For a larger box, Unilock's method is 6 inches of compacted open-graded gravel with a perforated pipe at the back, plus fabric on the base and inner walls. A small glued planter can drain through gaps at the base.
Do paver planters need a base?
A larger planter does. Treat a box holding a lot of soil like a short wall, with compacted gravel under it. A small glued planter set on a well-bedded patio needs only a level, firm surface.
How do you keep soil from washing out of a block planter?
Line the inside walls with landscape or filter fabric. It lets water pass and holds soil in, and it keeps fine particles from escaping through the seams between blocks.
How tall can a paver planter box be?
Low boxes are simple. Once a box is tall enough that the soil load pushes on the walls, build it like a retaining wall with a gravel base, stagger the courses and check the block maker's guidance for height limits.