Last Updated on September 23, 2026 by Umar Farooq
Yes, you can install pavers over concrete, and a tired slab is about the most tempting base in the yard: already flat, already paid for, already there. It works as long as the slab is structurally sound, drains water away from the house, and leaves enough room under door thresholds for the extra height. The three proven ways to do it are a 1-inch sand bed with drain holes (the standard for patios), a 3/4-inch mortar bed (for porches, steps and tight clearances) and paver adhesive with thin pavers (for the lowest possible build-up). A slab that's heaving, sinking or badly cracked isn't a base. It's a problem wearing a nicer outfit, and it shows through within a couple of seasons.
Putting pavers on top of concrete saves the demolition, the haul-away and most of the excavation. It's also where DIY projects go wrong, because the old slab changes the rules. Water can't soak down through gravel, you can't spike edging into the ground, and every inch you add lands right at the back door. This guide takes those problems in the order you should solve them.
Pavers over concrete: which slabs qualify and which don't
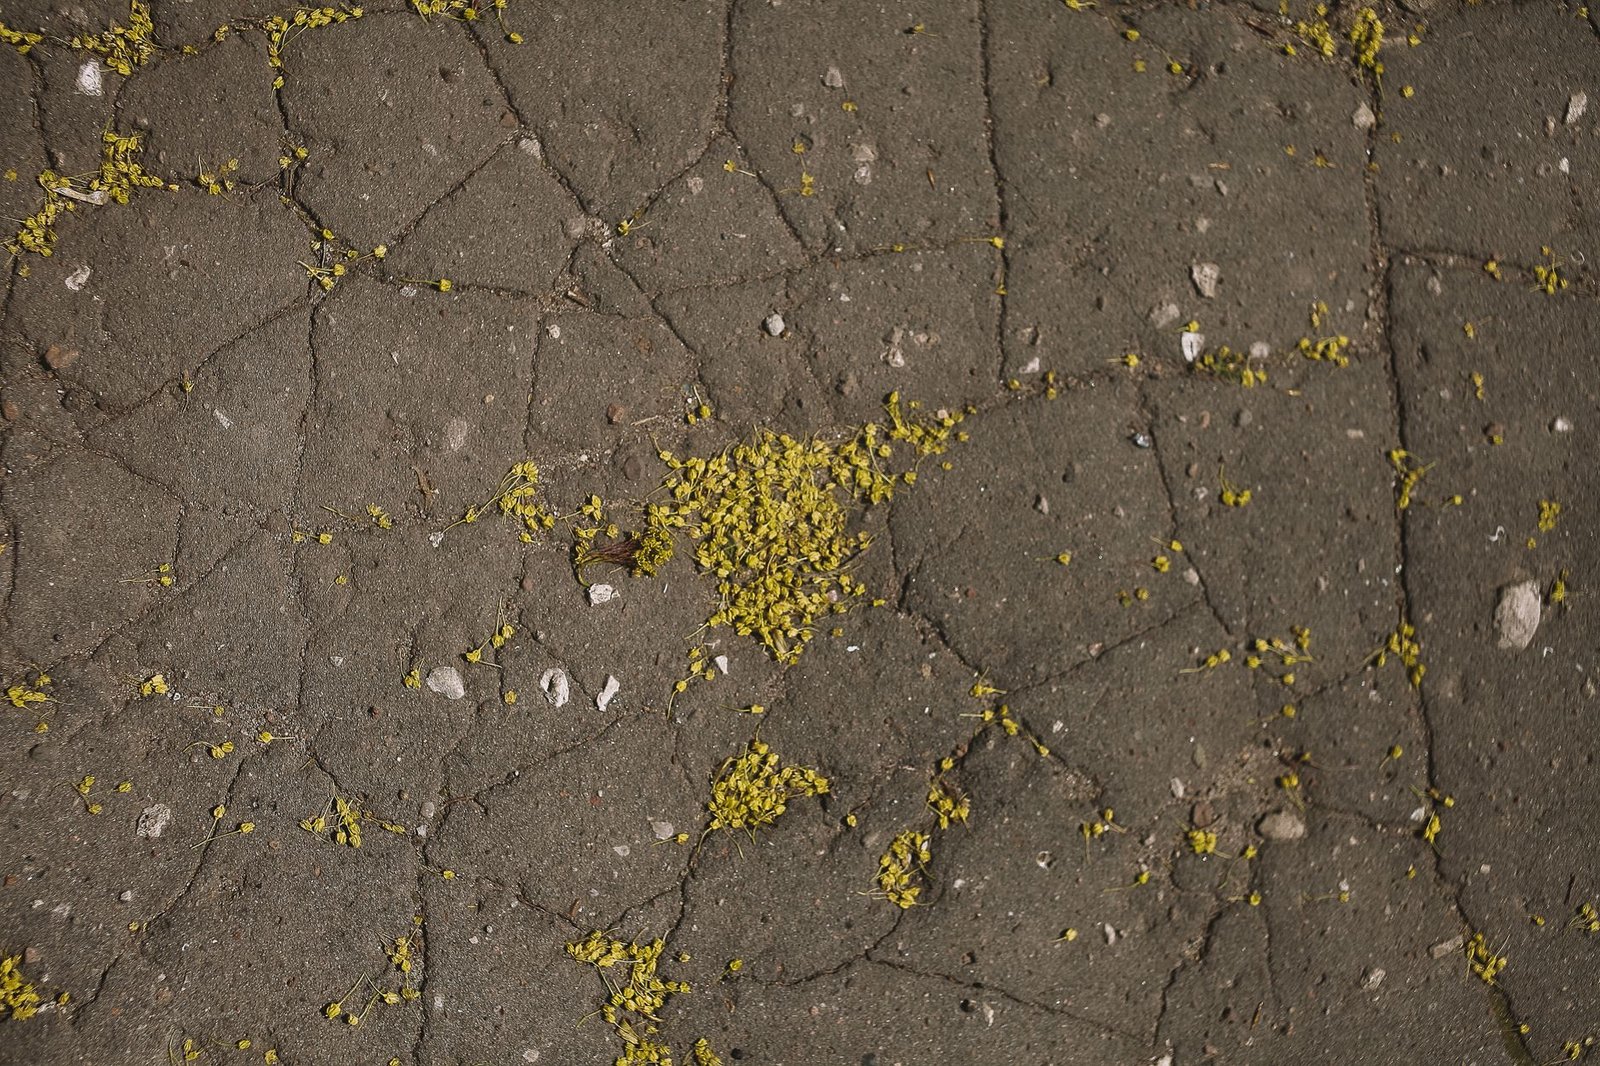
The slab becomes your base, so judge it the way you'd judge a compacted gravel base. It has to be stable, it has to shed water, and it has to stay put through winter. Walk it after a heavy rain and again in late winter if you live where the ground freezes.
| What you see on the slab | What it means | Overlay? |
|---|---|---|
| Hairline surface cracks, no height difference across them | Normal shrinkage cracking | Yes |
| Stains, spalling on the surface, faded color | Cosmetic wear | Yes |
| Cracks wider than about 1/4 inch, or one side higher than the other | The slab is moving | No, or only sand-set after repair |
| Sections that rock or sound hollow when you tap them | Voids under the slab | No |
| Low spots that hold water for hours | Poor pitch or settlement | Only if you can fix drainage |
| Slab pitched toward the house | Water is already going the wrong way | No, unless re-pitched with the bedding layer |
| Crumbling edges or frost heave each winter | Weak or undermined slab | No |
A useful rule: a crack that has not changed in years is a history lesson, while a crack that opens a little wider every spring is a forecast. Put a pencil mark at each end of a suspicious crack and check it over a season. (The most useful pencil in the whole project, and it cost nothing.)
If the slab fails this test, break it out and build a proper paver base of compacted crushed stone instead. It costs more up front, but it's cheaper than doing the patio twice.
Water has to leave through the slab, not sit on it
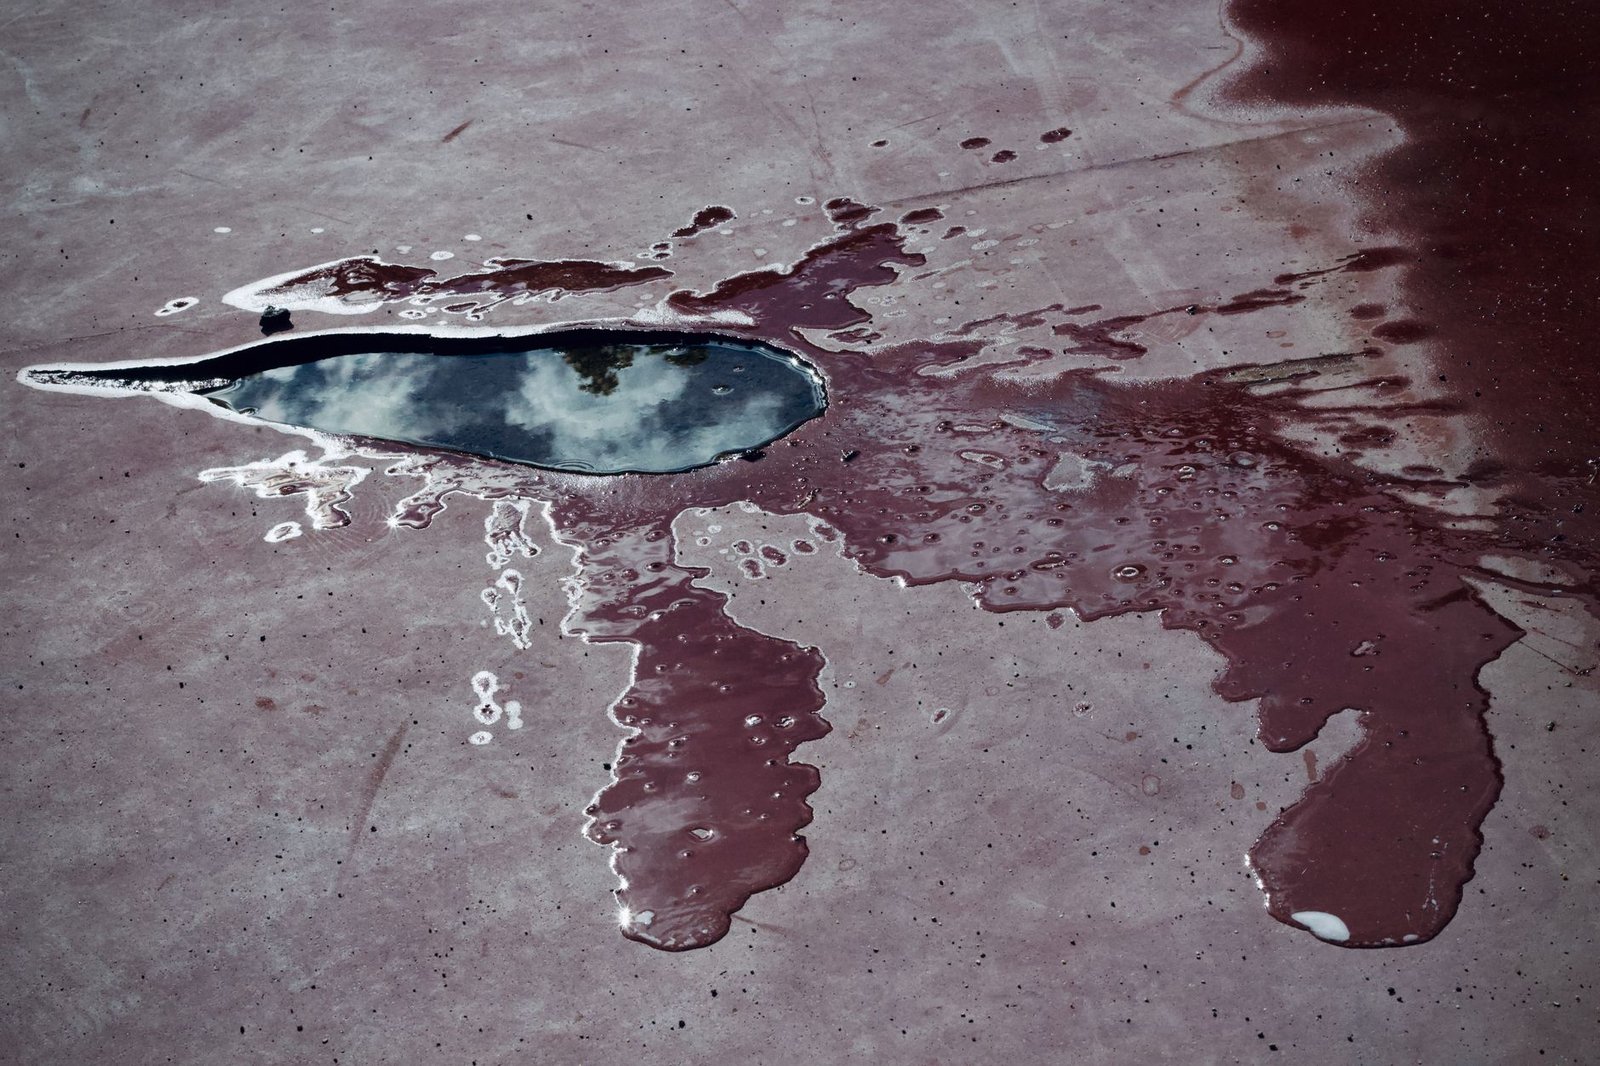
Drainage is the most common reason a paver overlay fails. On a normal installation, rain that gets through the joints soaks down through the bedding sand and the gravel base. On a concrete slab, it hits a hard, flat surface and has nowhere to go. Trapped water keeps the bedding sand soft, feeds weeds, stains the pavers with efflorescence, and in cold climates freezes and lifts the units.
Three things fix it:
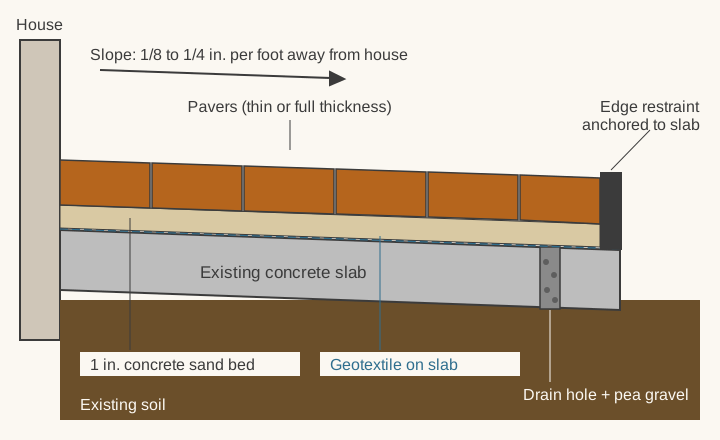
- Pitch. The finished surface must slope away from the house at least 1.5% (ICPI's minimum, about 3/16 inch per foot), and 2% (about 1/4 inch per foot) drains better. If the slab is already pitched correctly, keep the bedding layer an even thickness and follow it. If it's flat, you can build a small amount of slope into the sand bed, but you can't correct a slab that falls toward the foundation.
- Drain holes. For sand-set work, drill holes through the slab with a masonry or core bit at the low points, usually along the downhill edge and in any spot where water collects. Fill each hole with clean, washed pea gravel so water can escape into the soil below.
- Fabric. Lay a strip of non-woven geotextile over each drain hole and over any cracks or control joints, so bedding sand cannot wash down into them. Many installers cover the whole slab.
Mortar-set and adhesive-set overlays work differently. The joints are sealed, so the goal is to shed water across the surface rather than let it through. That makes the pitch even more important.
Sand-set, mortar-set or glued down?
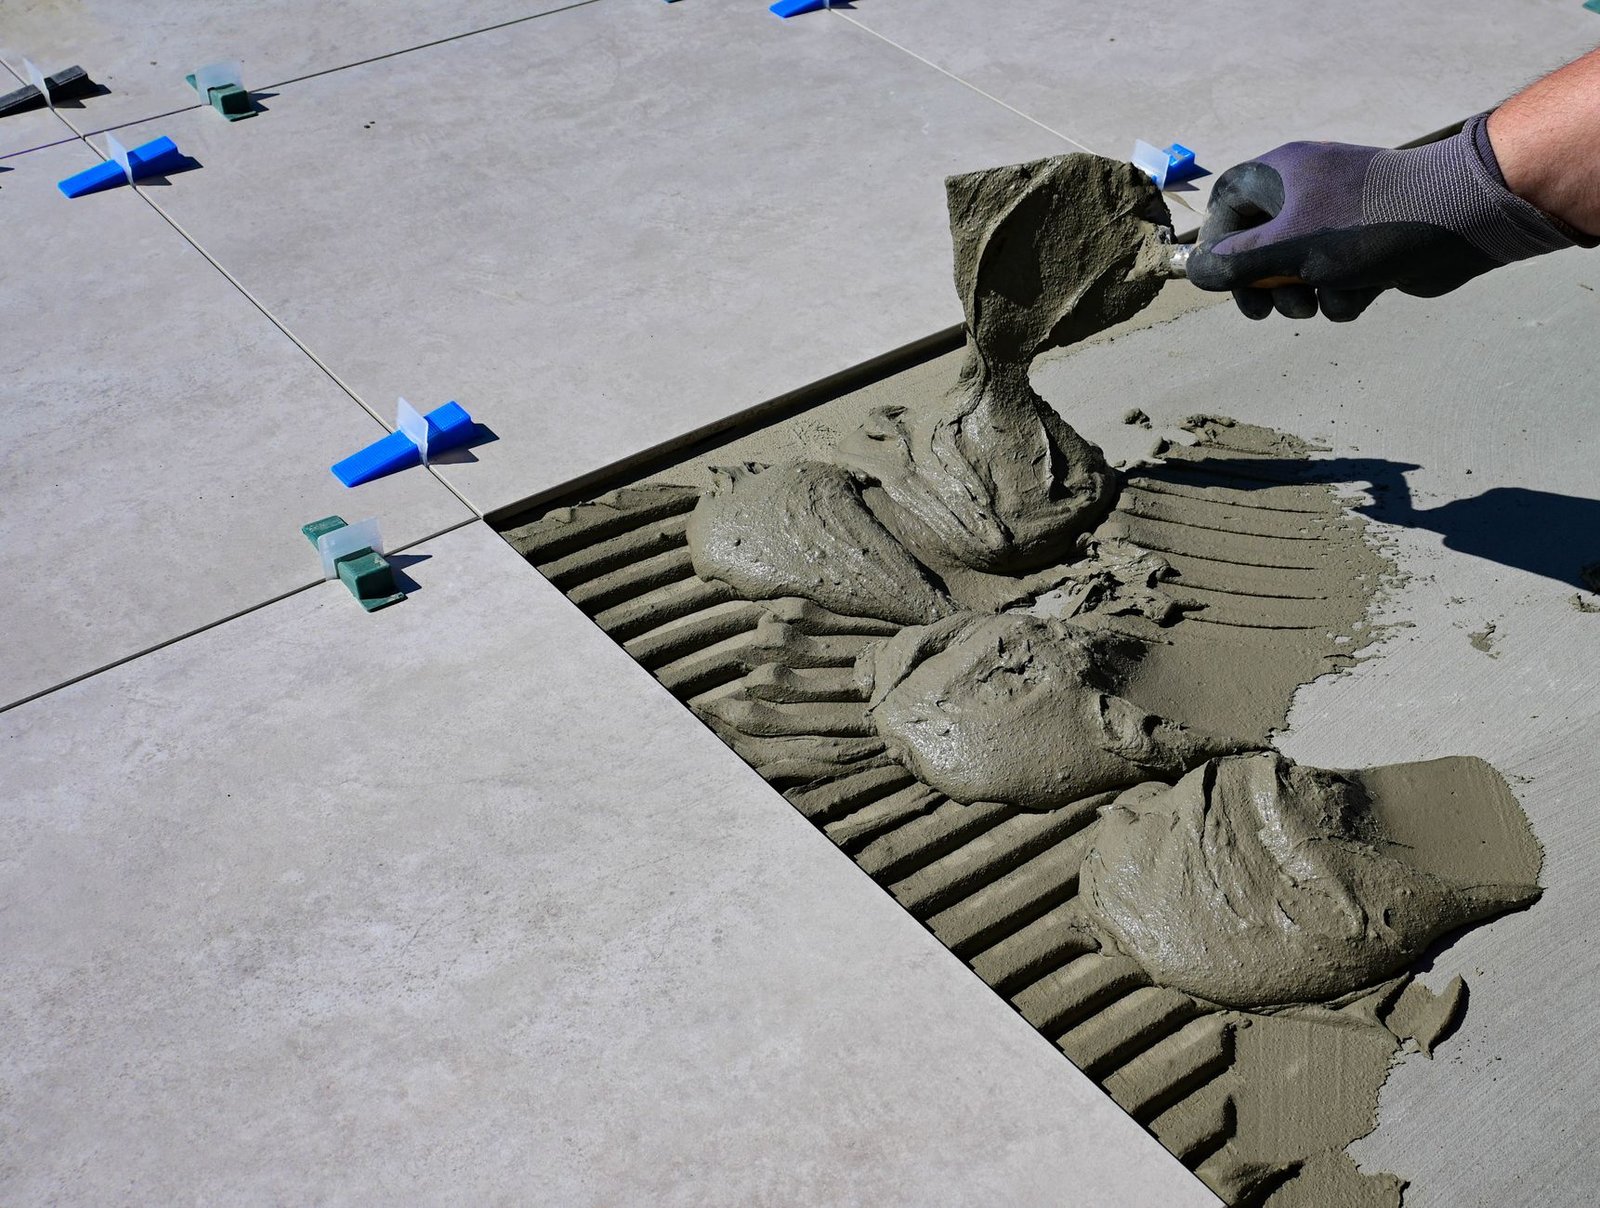
The setting method decides how much height you add, how the surface handles water, and how forgiving it is of slab movement.
| Method | What goes between slab and paver | Best for | Weak spot |
|---|---|---|---|
| Sand-set | About 1 inch of concrete sand over geotextile, with drain holes | Patios, walkways, pool decks | Needs solid edges and drain holes |
| Mortar-set | About 3/4 inch of latex-modified mortar, joints mortared | Porches, front steps, stoops, spots with tight clearance | Cracks in the slab can telegraph through; hard to repair |
| Adhesive-set | Beads of paver or construction adhesive, thin pavers only | Low-traffic patios with minimal clearance | Not for vehicles; failure is usually one loose paver at a time |
Sand-set is the method most manufacturers, including Unilock's overlay guide, describe for patios. It's also the method I'd pick for almost any backyard overlay, because it keeps the one advantage pavers have over concrete: you can take a piece out, fix what's under it, and put it back. A stained or cracked paver is an afternoon; a cracked mortar bed is a chisel and a bad mood. Use washed ASTM C33 concrete sand, never play sand or mason sand; our guide to sand for pavers explains why grain shape matters.
Mortar-set bonds the pavers to the slab. It's the cleanest answer on a front stoop or step, where a loose paver is a trip hazard. The trade-off: the pavers are now part of the slab, so if the slab cracks, the mortar and often the pavers crack with it. Use a latex-modified mortar and follow the mortar supplier's instructions for bed thickness and cure time.
Adhesive-set is the thinnest build. You clean the slab, run beads of exterior-rated adhesive, and press thin pavers into place, then fill joints with polymeric sand. It works on small, sheltered patios where every fraction of an inch counts. It isn't a driveway method.
A fourth approach, a bituminous (asphalt-based) setting bed, is used on commercial overlays and some thin-paver driveways. It needs specialist equipment and isn't a practical DIY choice.
Thin pavers over concrete versus full-thickness units
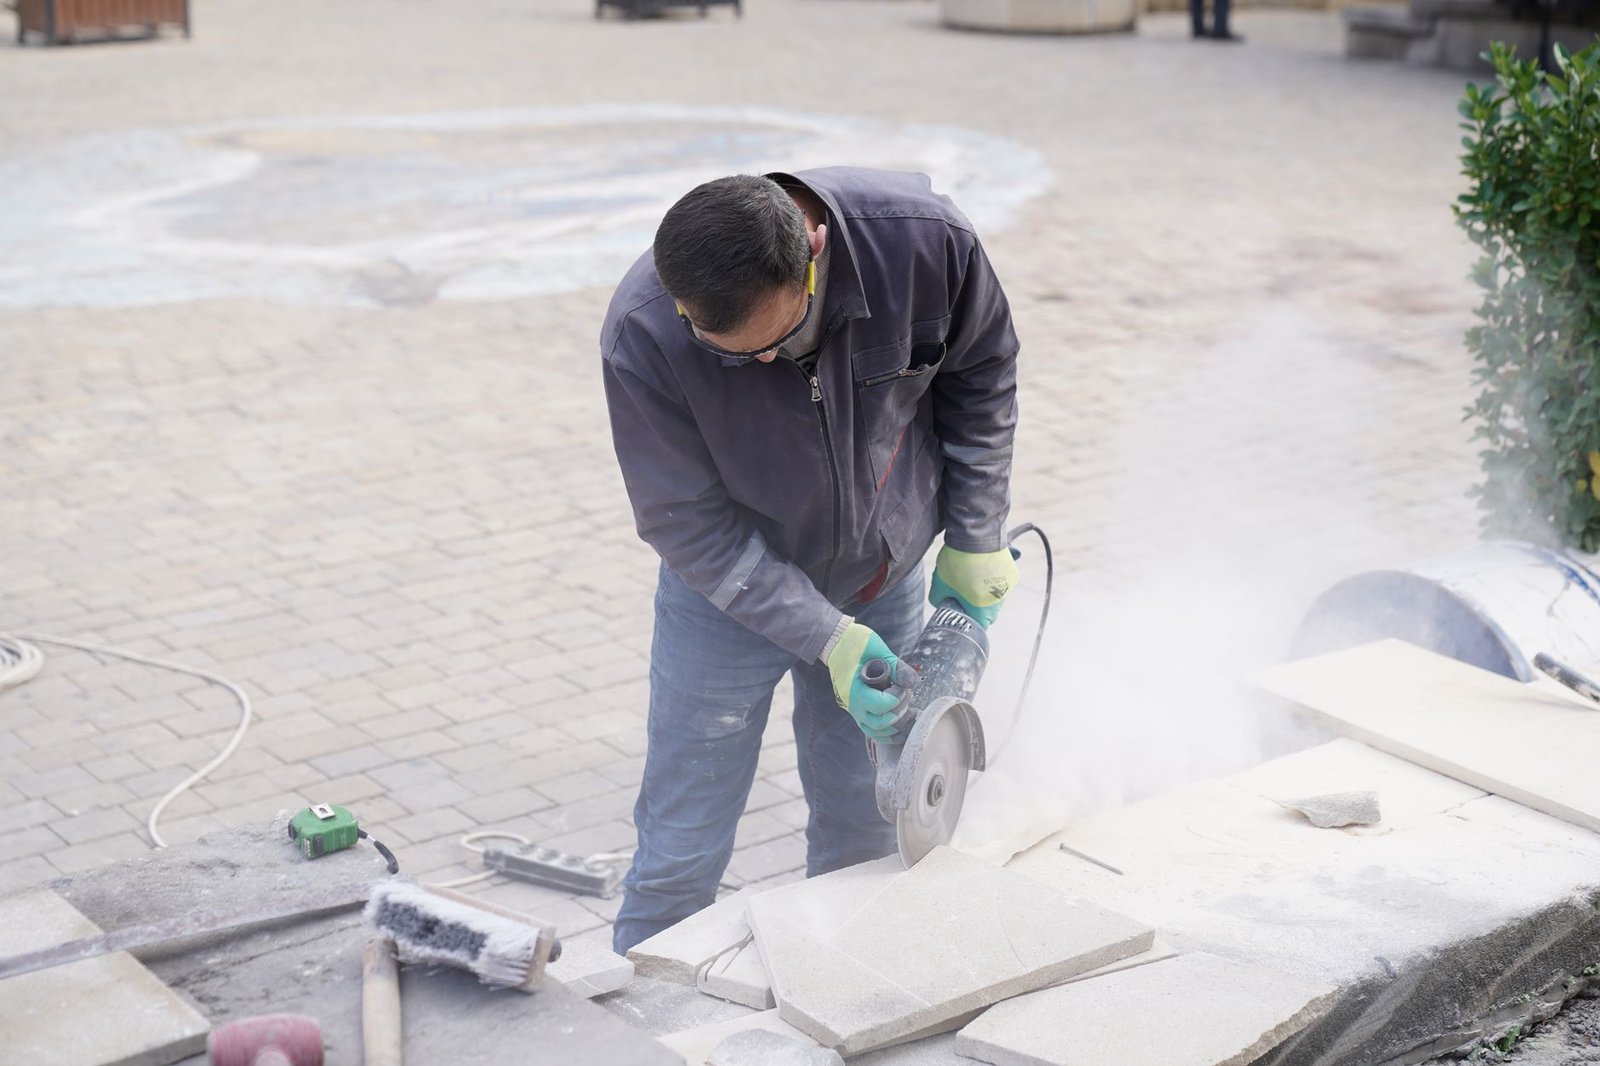
Standard concrete patio pavers are about 2-3/8 inches (60 mm) thick. Overlay or "thin" pavers are made for exactly this job and are typically around 1 to 1-1/4 inches thick. They look the same from above, weigh far less, and cost less to ship. Your back will notice before your guests do.
Choose thin pavers when:
- the door threshold is less than about 3-1/2 inches above the slab
- the patio meets a step whose riser height you do not want to change much
- you are mortar-setting or gluing, where the slab carries the load
Stick with full-thickness pavers when you have the clearance and are sand-setting a larger patio, because the extra mass makes the field more stable on its bedding layer.
Two practical notes. Thin units break more easily if you run a plate compactor over them without a protective pad, so check the manufacturer's instructions before compacting; some recommend setting them with a rubber mallet instead. And thin pavers are cut with the same wet saw or diamond blade as standard pavers, but the cuts along the edge are more visible, so plan the pattern to avoid small slivers.
How much height the overlay adds at doors and steps
This is the part people discover with a pallet already in the driveway. Measure from the top of the slab to the underside of the door threshold at every door, before you buy a single paver.
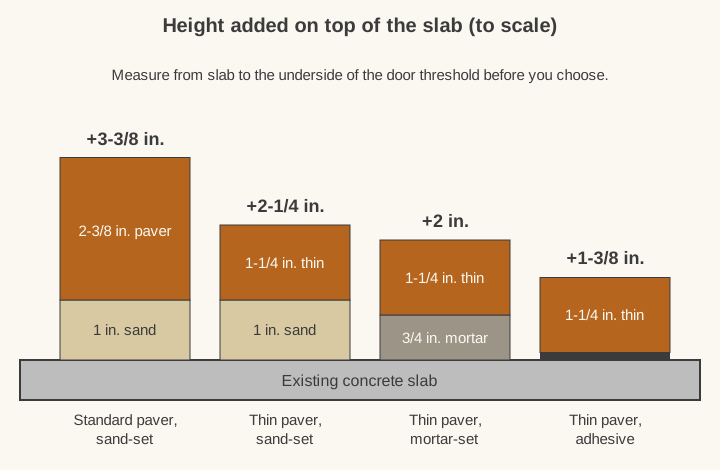
A few numbers to plan around:
- Doors. I checked the International Residential Code (R311.3.1) for this one: the landing outside the required exterior door can sit no more than 1-1/2 inches below the top of the threshold. Local adoption varies, so confirm with your building department. You also want the finished paver surface to sit below the threshold so that rain and snowmelt do not run into the house. An overlay that rises above the sill is a leak you built on purpose.
- Steps. If the patio sits at the bottom of a stair, raising it shortens the bottom riser. Building codes limit how much riser heights on one stair can vary (the IRC allows 3/8 inch), so a 3-inch overlay can create a noticeably short first step, which is exactly the kind of step people trip on. Plan to overlay the steps too, or choose a thinner method.
- Lawn and walkways. The patio edge will now stand 1-1/2 to 3-1/2 inches above the old grade. Plan to top-dress the lawn edge with soil, or step the pavers down where they meet a walkway.
If you can't find the height anywhere, the slab has to come out. Some homeowners grind the high end, but that's a big, dusty job for a fraction of an inch.
Laying pavers over concrete patio slabs, step by step
With the slab inspected, drainage planned and the method chosen, the installation itself is straightforward. These steps describe the sand-set method.
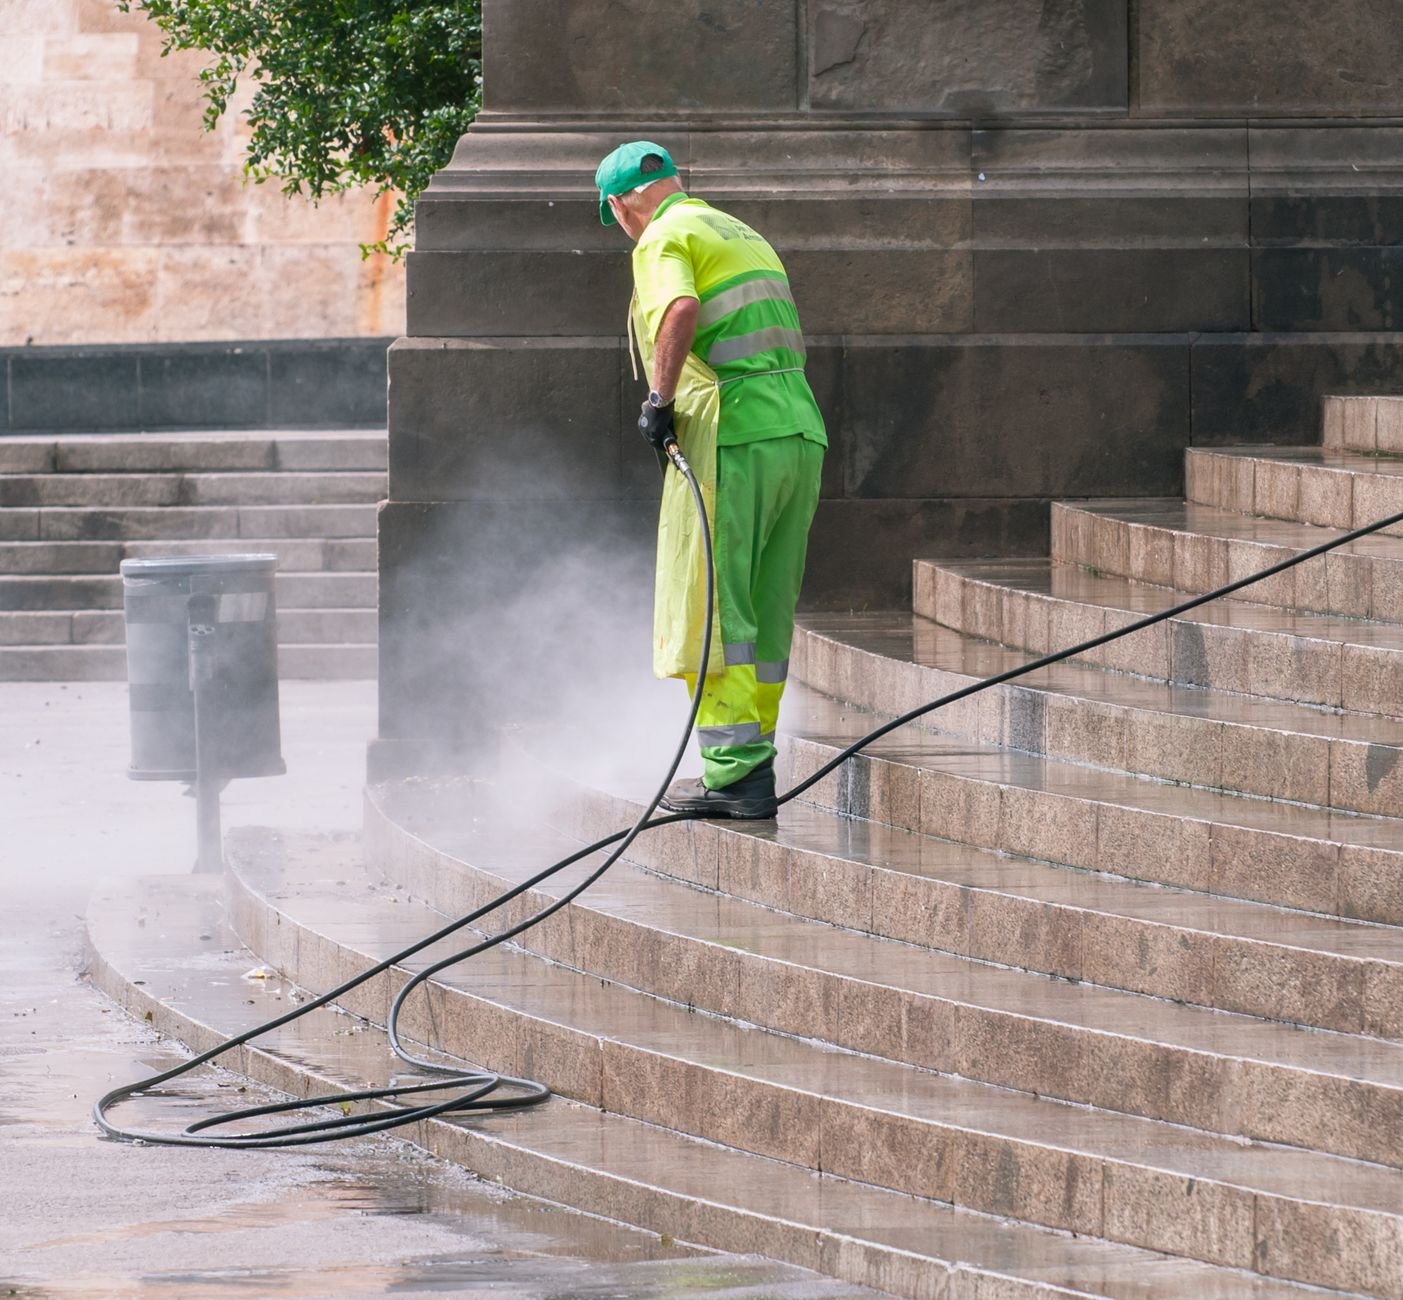
- Clean the slab. Pressure wash to remove dirt, moss, oil and loose material. Scrape off any old paint or concrete patio sealer that is flaking. Grind down sharp high spots and patch deep holes with a concrete repair mortar.
- Set the elevations. Snap chalk lines for the patio edges and mark the finished height at the house. Confirm the slope from the house to the far edge.
- Drill drain holes. At each low point, drill through the slab, fill the holes with washed pea gravel, and cover them with geotextile.
- Install the edge restraint. On every side not held by a wall or step, fasten the restraint to the slab (see the next section).
- Lay the fabric and spread sand. Cover the slab (or at least the joints, cracks and drain holes) with non-woven geotextile, then spread concrete sand and screed it to an even 1 inch using screed rails. The Brick Industry Association's technical note on sand setting beds uses the same 1-inch nominal thickness.
- Lay the pavers. Start at a straight edge or the house wall and work outward, setting each paver straight down rather than sliding it. Keep joints consistent and check your lines every few rows.
- Cut the edges. Mark and cut pavers to fit along the restraint. Avoid edge pieces under a third of a paver; shift the pattern if needed.
- Compact and fill the joints. Run a plate compactor fitted with a urethane pad over full-thickness pavers to seat them in the sand. Sweep polymeric sand into the joints, compact again, top up, then mist with water following the manufacturer's directions.
For the mortar-set method, steps 3 and 5 change: skip the drain holes and fabric, bond a 3/4-inch bed of latex-modified mortar to the clean, damp slab, back-butter each paver, and fill joints with mortar or a polymeric jointing compound rated for rigid installations.
Holding the edges when you cannot dig a trench
On a normal patio, plastic or aluminum edging is spiked into the compacted base. On a slab, spikes have nowhere to go, and a sand-set field with loose edges doesn't stay a rectangle for long: it slowly spreads, the joints open, and the sand leaves first.
You have three reliable options:
- Anchor the edging to the slab. Use plastic or aluminum paver edge restraint and fasten it with masonry screws or concrete anchors instead of spikes. The restraint has to sit on the slab, not hang past the edge.
- Mortar a border course. Set the outside row of pavers (often a soldier course) in mortar, bonded to the slab. The loose pavers inside are then locked in a rigid frame. This also hides the sand layer along the edge.
- Use existing structures. A house wall, a raised planter or a sturdy step already works as a restraint on that side.
Keep the pavers back from the very edge of the slab. A paver that overhangs the concrete has no support under part of it and will tip and crack over time.
Problems with pavers over concrete that show up later
Most overlay failures follow a few patterns, and each has a cause you can prevent during installation.
- Cracks that reappear. A crack in the slab that moves will show up in mortar-set pavers as a matching crack, and in sand-set pavers as a dip or ridge. Bridging stable cracks with geotextile helps sand-set work; nothing fixes a slab that is still moving.
- White haze and green joints. Efflorescence and algae are signs of water sitting in the bedding layer. The fix is more drain holes and better pitch, not more cleaning.
- Joint sand disappearing. Sand is washing down into cracks, control joints or drain holes that were not covered with fabric.
- Pavers creeping at one edge. The edge restraint was spiked into soil beside the slab instead of anchored to it, or it is missing.
- Water at the back door. The overlay was built higher than planned or pitched toward the house. This is the costliest mistake, because the only real fix is to lift and relay the pavers.
- Loose pavers on a mortared stoop. The slab was dusty or dry when the mortar went down, so the bond failed. Clean it thoroughly and dampen it before mortaring.
What an overlay costs compared with tearing out
Every source I read agrees on the main saving: you skip demolition, disposal and most of the excavation and base. What I couldn't find was a cost breakdown from anyone who wasn't also selling the install, so treat any single figure as one company's price list. One Chicago-area installer, Ware Landscaping, quotes $10 to $22 per square foot for professionally installed overlays, compared with $25 or more for rip-and-replace.
What pushes the cost up or down:
- Paver choice. Thin pavers cost less to ship, but some premium overlay lines cost as much per square foot as standard pavers.
- Slab repair. Patching, grinding and drilling drain holes add labor.
- Method. Mortar-set work takes more skill and time than sand-set.
- Edges and steps. Anchored restraint, mortared borders and step overlays add material and cutting time.
- Access. Carrying pavers through a house or narrow side yard adds labor on any job.
For a DIYer, the tools are the same as a standard patio: a wet saw or saw with a diamond blade, a screed board and rails, a rubber mallet and a plate compactor, which you can rent. The Nicolock guide to overlays is worth reading for its list of questions to ask a contractor before you sign.
A sound slab earns an overlay; a heaving one earns a jackhammer
Pavers over concrete are a smart upgrade when the slab is stable, pitched away from the house and low enough under the doors to take the extra height. Pick sand-set for most patios, mortar-set for stoops and steps, and adhesive only when every fraction of an inch matters. Drill the drain holes, anchor the edges, and measure the thresholds first. If the slab moves, sinks or holds water against the foundation, break it out. And if you're reading this with a tape measure already jammed against the back door sill, good. That's exactly the right place to start.
FAQ
Can you put pavers over a concrete patio without sand?
Yes. You can set pavers on a concrete patio with a 3/4-inch bed of latex-modified mortar or glue thin pavers directly to the slab with exterior paver adhesive. Both skip the sand bed and add less height, but the pavers become bonded to the slab, so cracks in the concrete can transfer to the pavers.
How thick should pavers be over concrete?
Thin overlay pavers of about 1 to 1-1/4 inches are made for concrete slabs and are the usual choice where door or step clearance is tight. Standard 2-3/8-inch pavers also work over concrete if you have roughly 3-1/2 inches of room below the threshold for the paver plus a 1-inch sand bed.
Do you need drain holes in concrete before laying pavers?
For a sand-set overlay, yes. Water that passes through the joints needs a way out, so drill holes at the low points of the slab, fill them with washed pea gravel, and cover them with geotextile. Mortar-set and glued overlays do not usually need drain holes because the surface sheds water instead of letting it through.
Can you put pavers over cracked concrete?
You can if the cracks are hairline and stable, with no height difference across them. Cover them with geotextile and use a sand-set method so small movements do not show through. Wide cracks, cracks that keep growing, or sections that have heaved or sunk mean the slab is moving, and it should be removed instead.
Is it cheaper to put pavers over concrete or remove it?
Overlaying is usually cheaper because you avoid demolition, disposal, excavation and most of the gravel base. It only saves money if the slab is sound, though. If you have to relay the pavers later because the slab failed, a tear-out would have been the cheaper choice.
Will pavers over concrete raise the patio too high for my door?
They can. A standard paver on a sand bed adds about 3-3/8 inches, while thin pavers glued down add about 1-3/8 inches. Keep the finished surface below the door threshold, and no more than about 1-1/2 inches below it under typical residential code, so water cannot run into the house.