Last Updated on September 23, 2026 by Umar Farooq
You can build a paver patio on slope ground, but the patio itself should end up almost flat, because nobody wants to chase a rolling wine glass across the dining table. The finished surface needs only 1.5 to 2% of fall (about 3/16 to 1/4 inch per foot) for drainage, so the rest of the yard's slope has to be taken up some other way: by cutting soil out of the high side and filling the low side, by splitting the patio into terraces with steps between them, or by building a retaining wall. How much of each depends on how far the ground drops across the patio's footprint. Walkways are more forgiving and can follow a grade of up to about 5%.
Below: how to measure your yard, how to choose between those options, and the point where a slope becomes a job for an engineer.
How much pitch a paver patio on slope ground can carry
A patio has to feel level while still shedding water. I read Unilock's guide to installing pavers on a slope alongside ICPI Tech Spec 2, and between them they fence it in neatly: ICPI wants at least 1.5% so water moves, Unilock caps patios at 2% (a 2-inch drop over 100 inches) and allows walkways up to 5% where the surface is non-slip. Beyond that, steps or separate levels.
| Surface | Recommended fall | Practical maximum | Steeper than that |
|---|---|---|---|
| Patio, dining or seating area | 3/16 to 1/4 in per ft (1.5–2%) | 2% | Split into levels |
| Walkway | 1/4 in per ft or more | About 5% (5 in per 100 in) | Add steps |
| Driveway | Follows the site | Set by local code and comfort | Engineered design |
The slope should always run away from the house. Our patio drainage guide covers direction, downspouts and where the water goes next.
Measure the yard before choosing a design
The number that matters is not how steep the yard looks from the kitchen window but the total height difference across the patio footprint. That tells you how much soil you need to move.
- Drive a stake at the high corner of the planned patio and another at the low corner.
- Tie a string to the high stake at ground level and run it to the low stake.
- Level the string with a line level and mark it on the low stake.
- Measure from the string down to the ground at the low stake. That is your drop.
- Measure the horizontal distance between the stakes. Drop divided by distance is the yard slope.
For example, a 16-foot patio where the ground falls 24 inches has a 12.5% yard slope. The patio can only use about 3 to 4 inches of that as drainage fall, so roughly 20 inches has to be taken up with cut, fill or a wall.
As a rough planning guide:
- A few inches of drop. The base and a little digging take it up. This is a normal patio build.
- Around 6 to 18 inches. Cut into the high side, fill the low side, and finish with a low wall, seat wall or step on one edge.
- More than about 18 to 24 inches. Split the patio into two or more terraces, or build a proper retaining wall.
- A true hillside. Get a landscape designer or engineer involved before you buy anything.
Before you dig, call 811 a few days ahead so the utilities get marked, and remember the uphill edge will have to handle runoff from the slope above it.
Cut and fill: carving a level pad
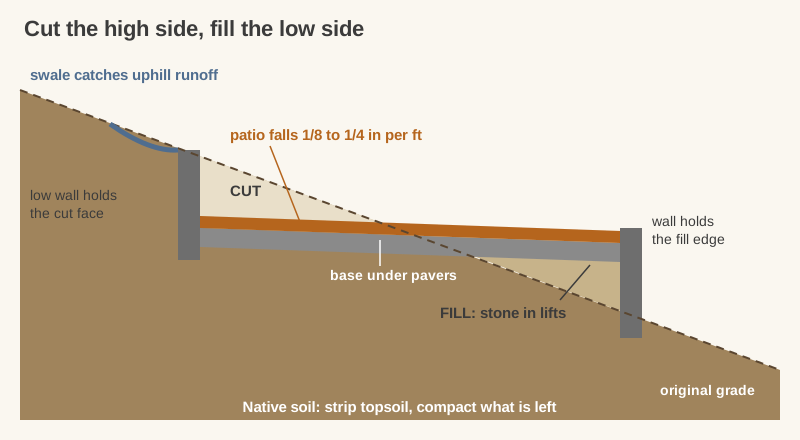
Cut and fill is the most common way to fit a paver patio on a sloped yard. You dig into the high side, build up the low side with crushed stone, and meet somewhere near the middle, like a negotiation with the hill.
On the cut side, you are digging below the original grade. The exposed bank has to be held back, usually with a low wall or a planted slope. Water running down the hill now arrives at that bank, so cut a swale above it or drain behind the wall, or the uphill edge becomes the lowest spot on the slope.
On the fill side, you are building the ground up, and this is where I'll plant my flag: on a slope, the downhill fill decides whether the patio stays flat. The pavers only spread the load; the stone under the downhill half carries it, and it is the one part nobody photographs. Fill must be:
- Crushed stone, not topsoil or excavated dirt. Loose soil settles for years. Dense-graded base stone compacts hard and stays put.
- Placed in thin lifts. A 4-to-6-inch lift only works with the 7,000 lbf reversible plate ICPI has in mind, and the spec says plainly that smaller plates need thinner lifts. The plate a rental yard hands you is usually one of the smaller ones, so spread 2 to 3 inches at a time, damp, and compact each lift before adding the next. Six inches dumped at once gets a hard crust over loose stone.
- Held at the edge. Fill slumps outward unless something stops it. Either extend the compacted base well past the paver edge and slope it down gently, or build a retaining wall at the downhill edge and fill behind it.
Strip the topsoil from the whole area first, including under the fill, and compact the subgrade. Fill on top of sod just buries the problem, which then composts. Our guide on how to level ground for pavers covers setting grade stakes and shaping the subgrade.
Raised or sunken? A mostly-cut patio sits down into the slope and feels sheltered, but needs an uphill wall and good drainage. A mostly-filled patio has a view, but needs more stone, a stronger downhill edge and often a railing.
Terracing the patio into levels
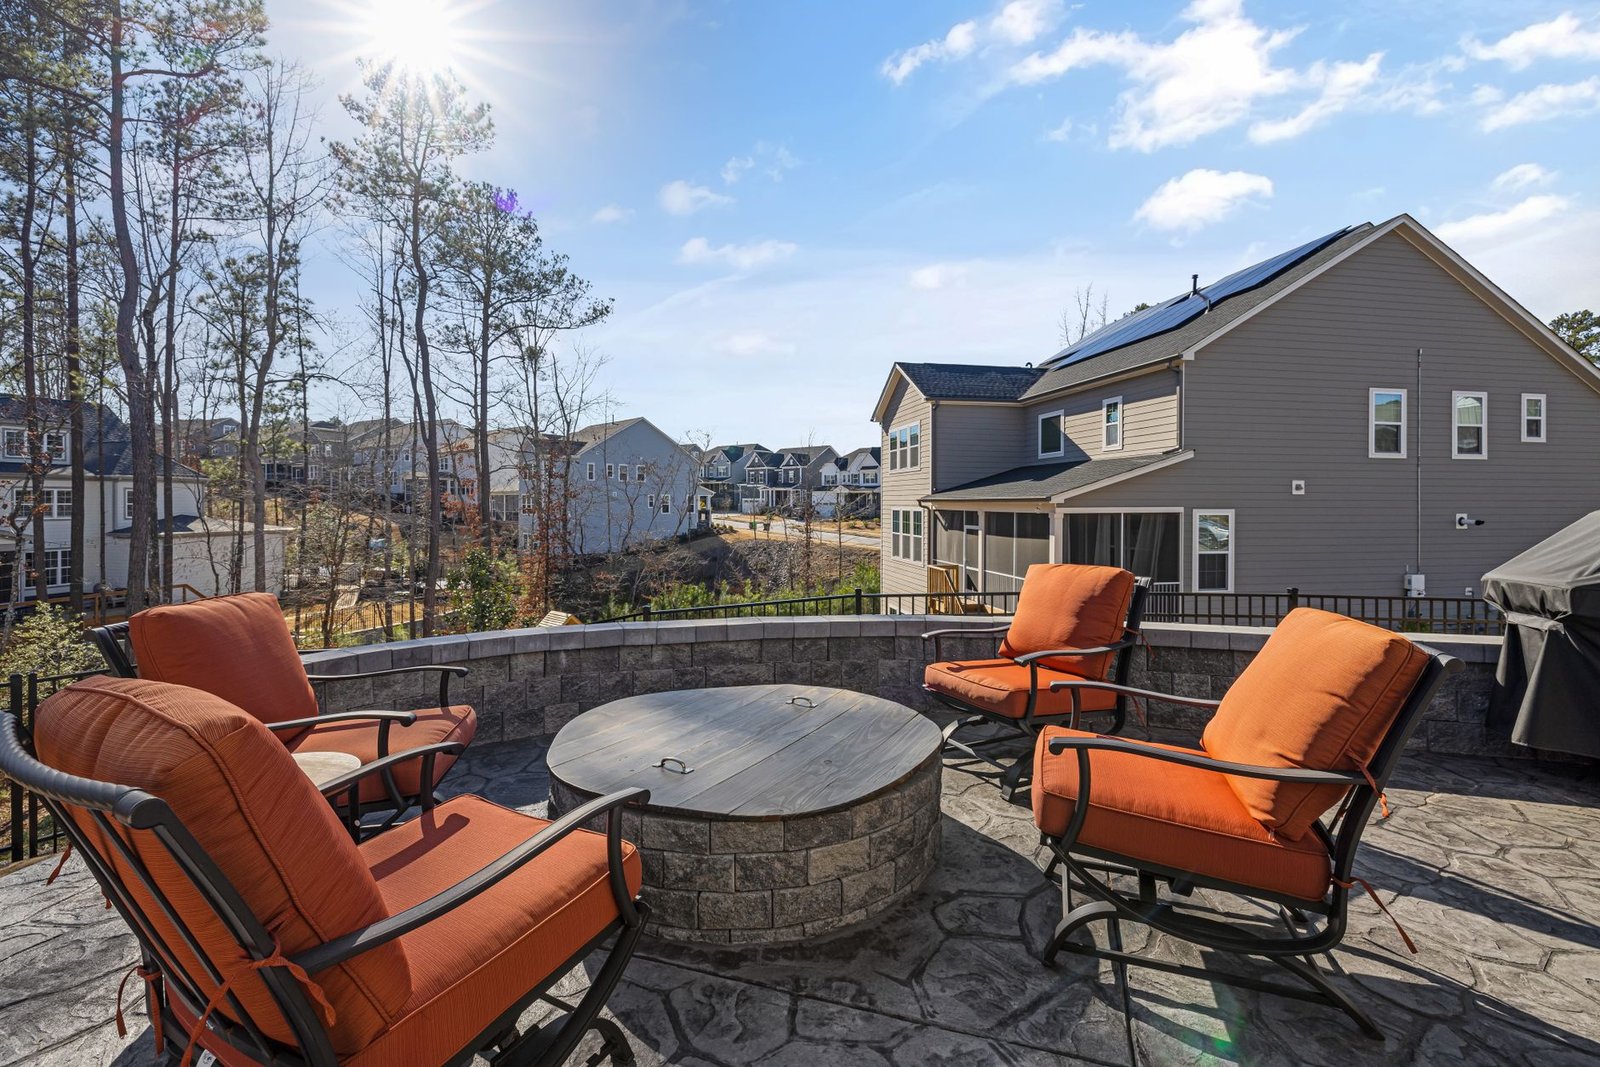
When the drop is more than a low wall can comfortably handle, split it. Two or three nearly flat terraces joined by a few steps look better and are easier to build than one big pad with a tall wall at one end.
Planning terraces:
- Match each level to its use. Dining next to the kitchen door, fire pit or lounge a level lower. Each level needs room for its furniture plus a walkway around it.
- Keep the level changes consistent. If each terrace drops by the same amount, the steps between them can be the same size. Two risers of 6 to 7 inches, or one or two courses of wall block, is a typical change.
- Pitch each terrace on its own. Every level still needs its 1.5 to 2% of fall, and water leaving the upper level must not pour down the steps onto the lower one. Pitch the upper level toward a side edge, or put a channel drain at its lower edge.
- Use the walls as seating. A wall between terraces that rises 18 to 20 inches above the lower level doubles as bench seating.
The steps between levels need their own base and careful riser and tread sizing. Our guide on how to build steps with pavers goes through the math and the construction.
When the slope needs a retaining wall
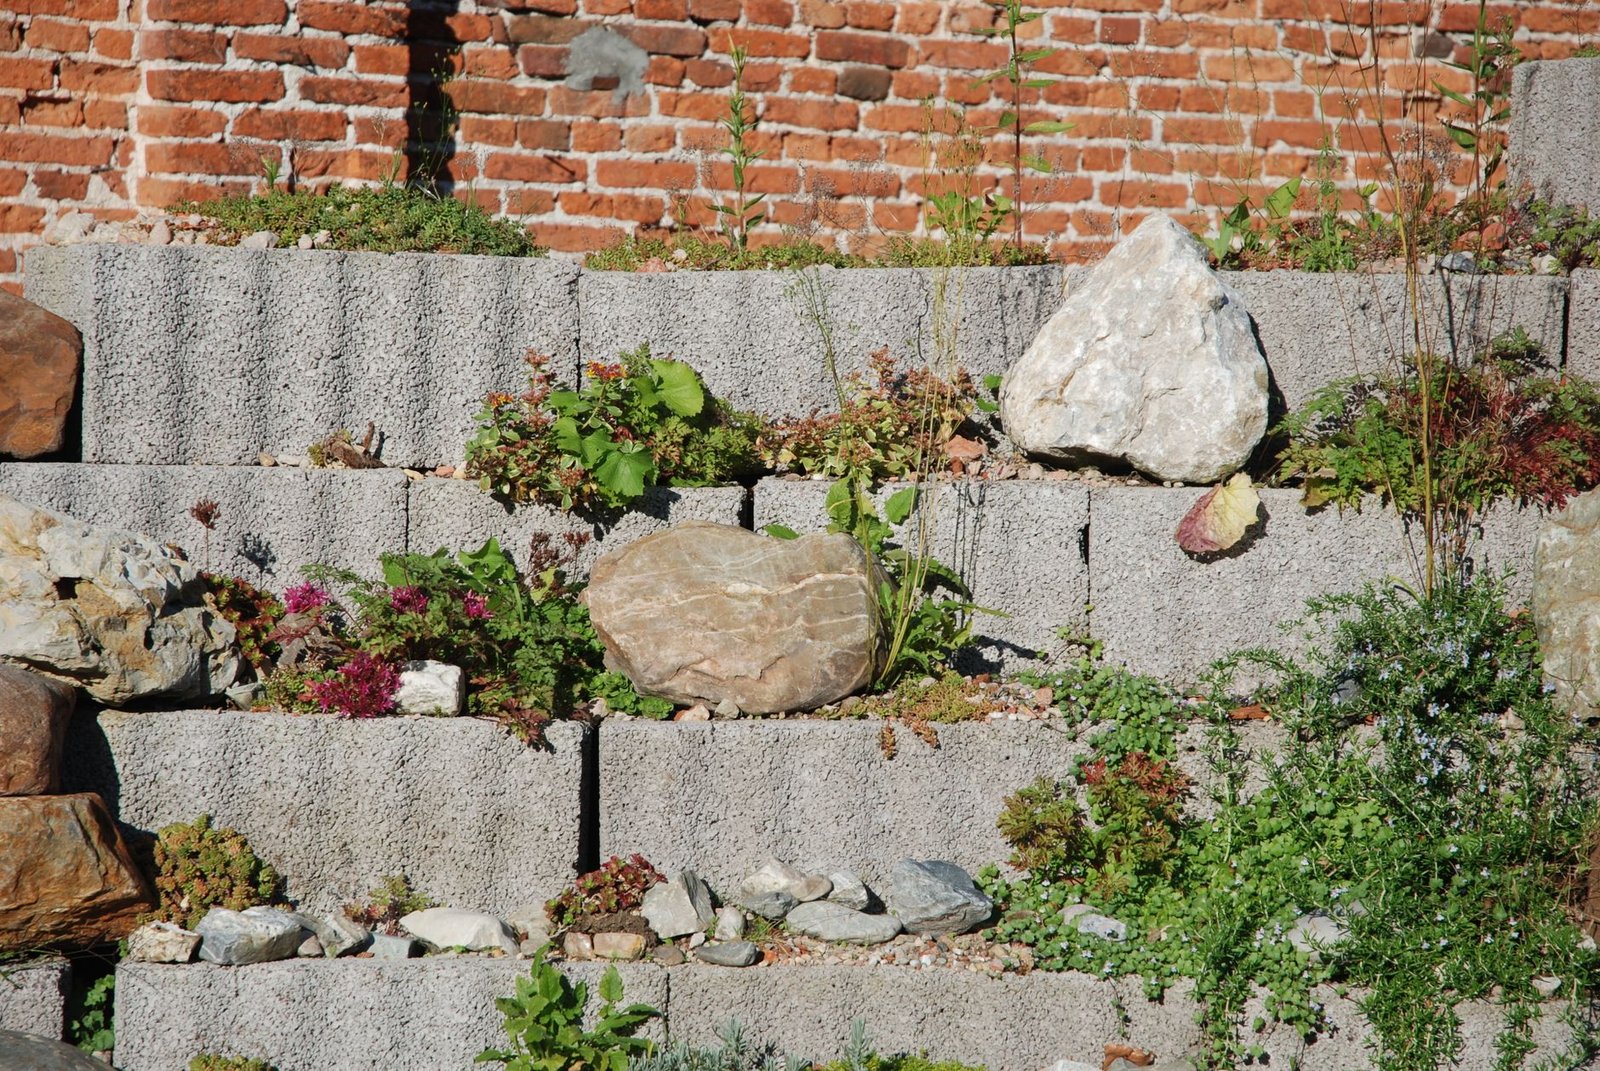
Low walls are a normal part of building on a slope. Segmental retaining wall blocks, the kind with a lip or pins that set each course slightly back, can be stacked by a careful homeowner to a couple of feet on a compacted gravel leveling pad, with drainage stone and a perforated pipe behind the base.
Taller walls are a different job. Treat these as a signal to call a professional:
- Walls over about 3 to 4 feet high. I went through the permit exemptions in the International Residential Code, and Section R105.2 exempts only retaining walls no higher than 4 feet, measured from the bottom of the footing to the top of the wall, and only when they aren't supporting a surcharge. Many towns set stricter limits, so check with your local building department.
- A patio on top of the wall. A patio built on the fill behind a wall is a surcharge: extra load pushing on the wall. So are driveways, hot tubs and structures near the top. Walls carrying a surcharge usually need geogrid reinforcement and an engineered design.
- Wet or unstable slopes. Springs, clay that stays wet, or signs of previous slumping call for an engineer whatever the height.
A wall that fails takes the patio with it. On any wall that holds up your patio, the design is worth more than the blocks. (The blocks will disagree. The blocks are wrong.)
Sloped paver walkways
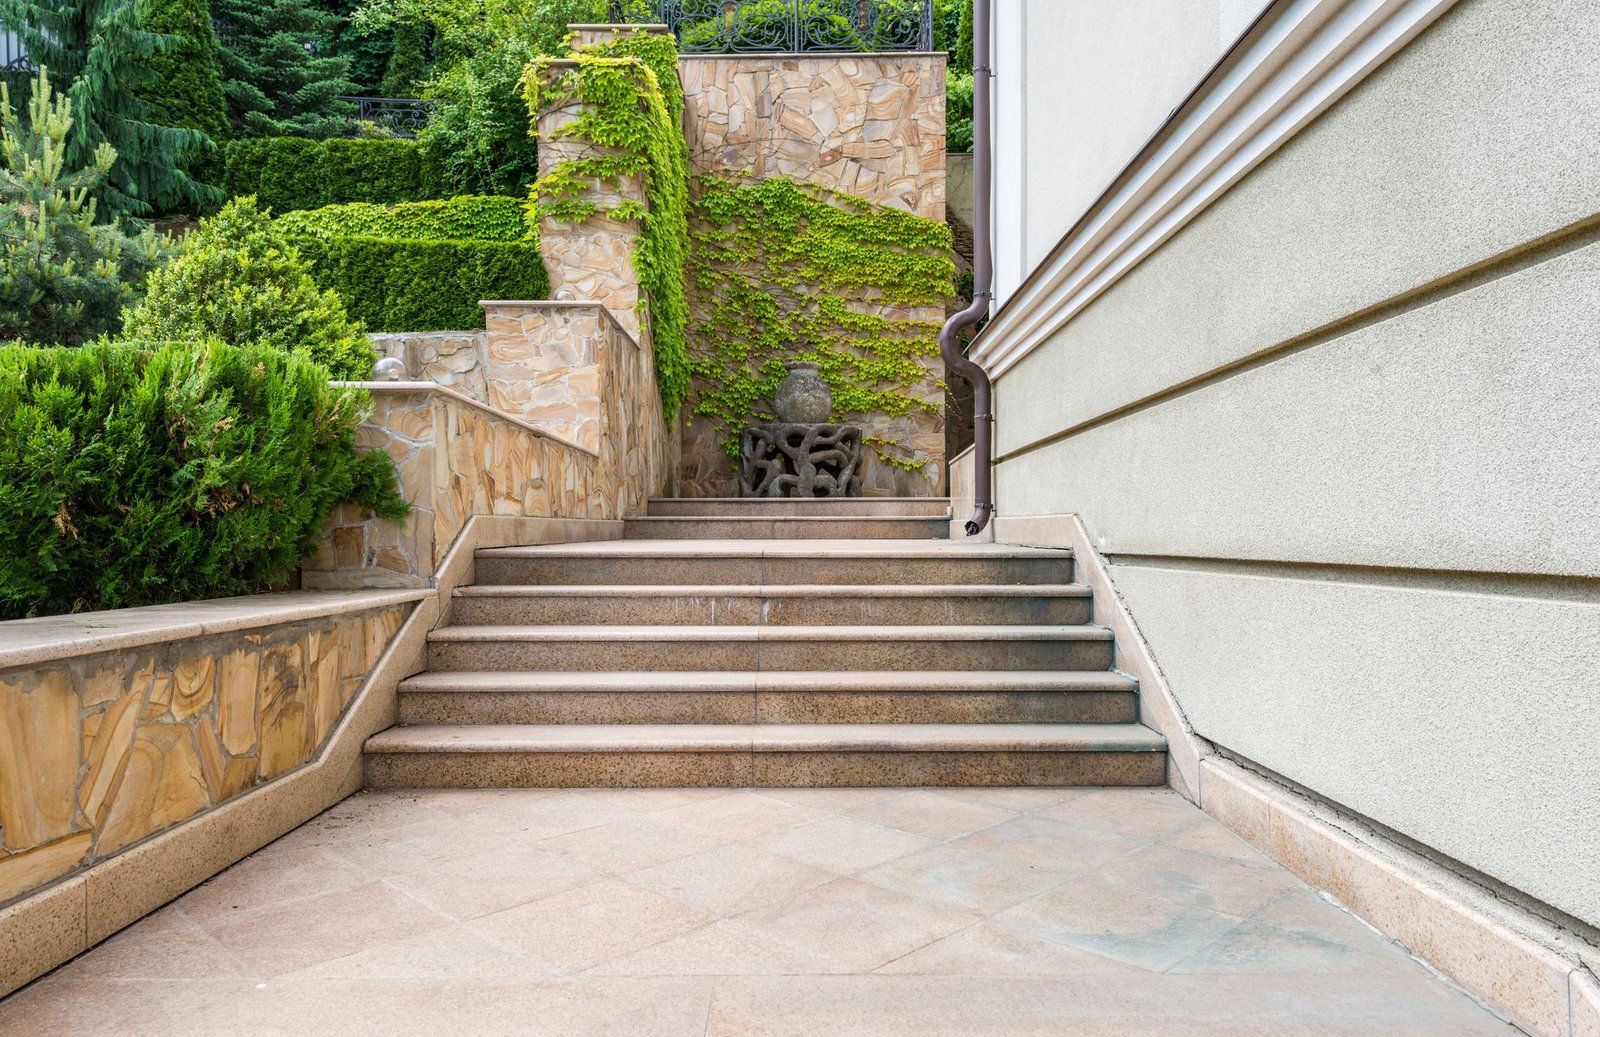
Walkways don't need to be level. A sloped paver walkway can follow the ground at up to about 5%, and it should, because it saves a lot of digging. What changes:
- Lay from the bottom up. Start at the lowest edge against a fixed restraint and work uphill, so each row is supported by the one below.
- Make the downhill edge restraint strong. Pavers on a grade have the patience of a glacier and the same travel plans. Spike the restraint more closely than usual, or use a concrete toe.
- Choose a herringbone pattern. Herringbone at 45 or 90 degrees locks against movement in every direction and resists creep better than running bond laid down the slope.
- Add cross slope. Pitch the walk a quarter inch per foot to one side, so water runs off the edge instead of racing down the walk and washing out the joints.
- Break it with steps where it gets steep. Past about 5%, add steps with flat runs between them.
A walkway that crosses a slope, rather than climbing it, needs a small cut uphill and a little fill downhill, the same principle as a patio.
Building the patio on a sloped yard, in order
The sequence matters more on a slope than on flat ground, because walls and fill have to go in before the base:
- Lay out the patio and mark the finished height with stakes and string at the planned slope.
- Plan the water. Decide where runoff from above will go (swale, drain or wall drainage) and where the patio will drain.
- Strip the topsoil from the whole footprint, including areas that will be filled.
- Cut the high side down to subgrade depth and compact the exposed soil.
- Build the walls on their leveling pads, with drainage stone and pipe behind them, up to the height needed.
- Place and compact fill in lifts of 2 to 3 inches behind the downhill wall or out to the extended base.
- Lay geotextile on clay soils, then build the paver base in lifts sized to your compactor: at least 4 inches compacted, and 2 to 4 more if the soil is wet, weak or freezes, pitched 1.5 to 2%.
- Screed a loose inch of ASTM C33 sand and lay the pavers from the lowest edge, then install edge restraints, compact, and sand the joints.
Level the pad, not the whole yard
A sloped yard doesn't rule out a paver patio. It just means the work goes into the ground under it. Measure the drop across the footprint, take it up with cut and fill, terraces or walls, and keep the finished surface within 1.5 to 2% so it drains and still feels flat. Build fill from compacted stone in thin lifts, strengthen the downhill edge, and leave tall walls, or walls that carry the patio, to an engineer. The hill was there first; you're just asking it to hold still for the next twenty years.
FAQ
How steep a slope can you put pavers on?
A patio surface should fall between 1.5% and about 2% (1/4 inch per foot), no steeper. Walkways can follow grades up to about 5% if the pavers have a non-slip surface. The yard underneath can be much steeper, but the difference has to be taken up with cut and fill, terraces or retaining walls.
Do I need a retaining wall for a patio on a slope?
Not always. Small drops of a few inches are handled by the base, and a moderate drop can often be managed with cut and fill plus a low wall or seat wall. You need a real retaining wall when the drop across the patio is more than about 18 to 24 inches, or when the fill edge would otherwise slump. Walls over about 4 feet, or walls with the patio on top of them, usually need a permit and an engineered design.
How do you level a sloped backyard for a patio?
Remove the topsoil, cut the high side down, and build up the low side with crushed stone compacted 2 to 3 inches at a time. Hold the cut bank and the fill edge with walls or gentle slopes, and add a swale above the patio to catch runoff. The finished pad should still fall 1.5 to 2% (about 3/16 to 1/4 inch per foot) for drainage.
Should pavers be laid uphill or downhill?
Lay them from the lowest edge upward. Starting against a fixed restraint at the bottom means each row is supported by the one below, which keeps the pavers from creeping downhill while you work and after the patio is finished.
Is it cheaper to build a raised patio or dig into the slope?
Digging in usually costs less in material, because you are removing soil rather than buying and compacting fill stone, but it needs a wall on the uphill side and good drainage. A raised patio needs more stone, a stronger downhill wall and sometimes a railing. A balance of cut and fill usually keeps both the wall heights and the amount of fill stone down.